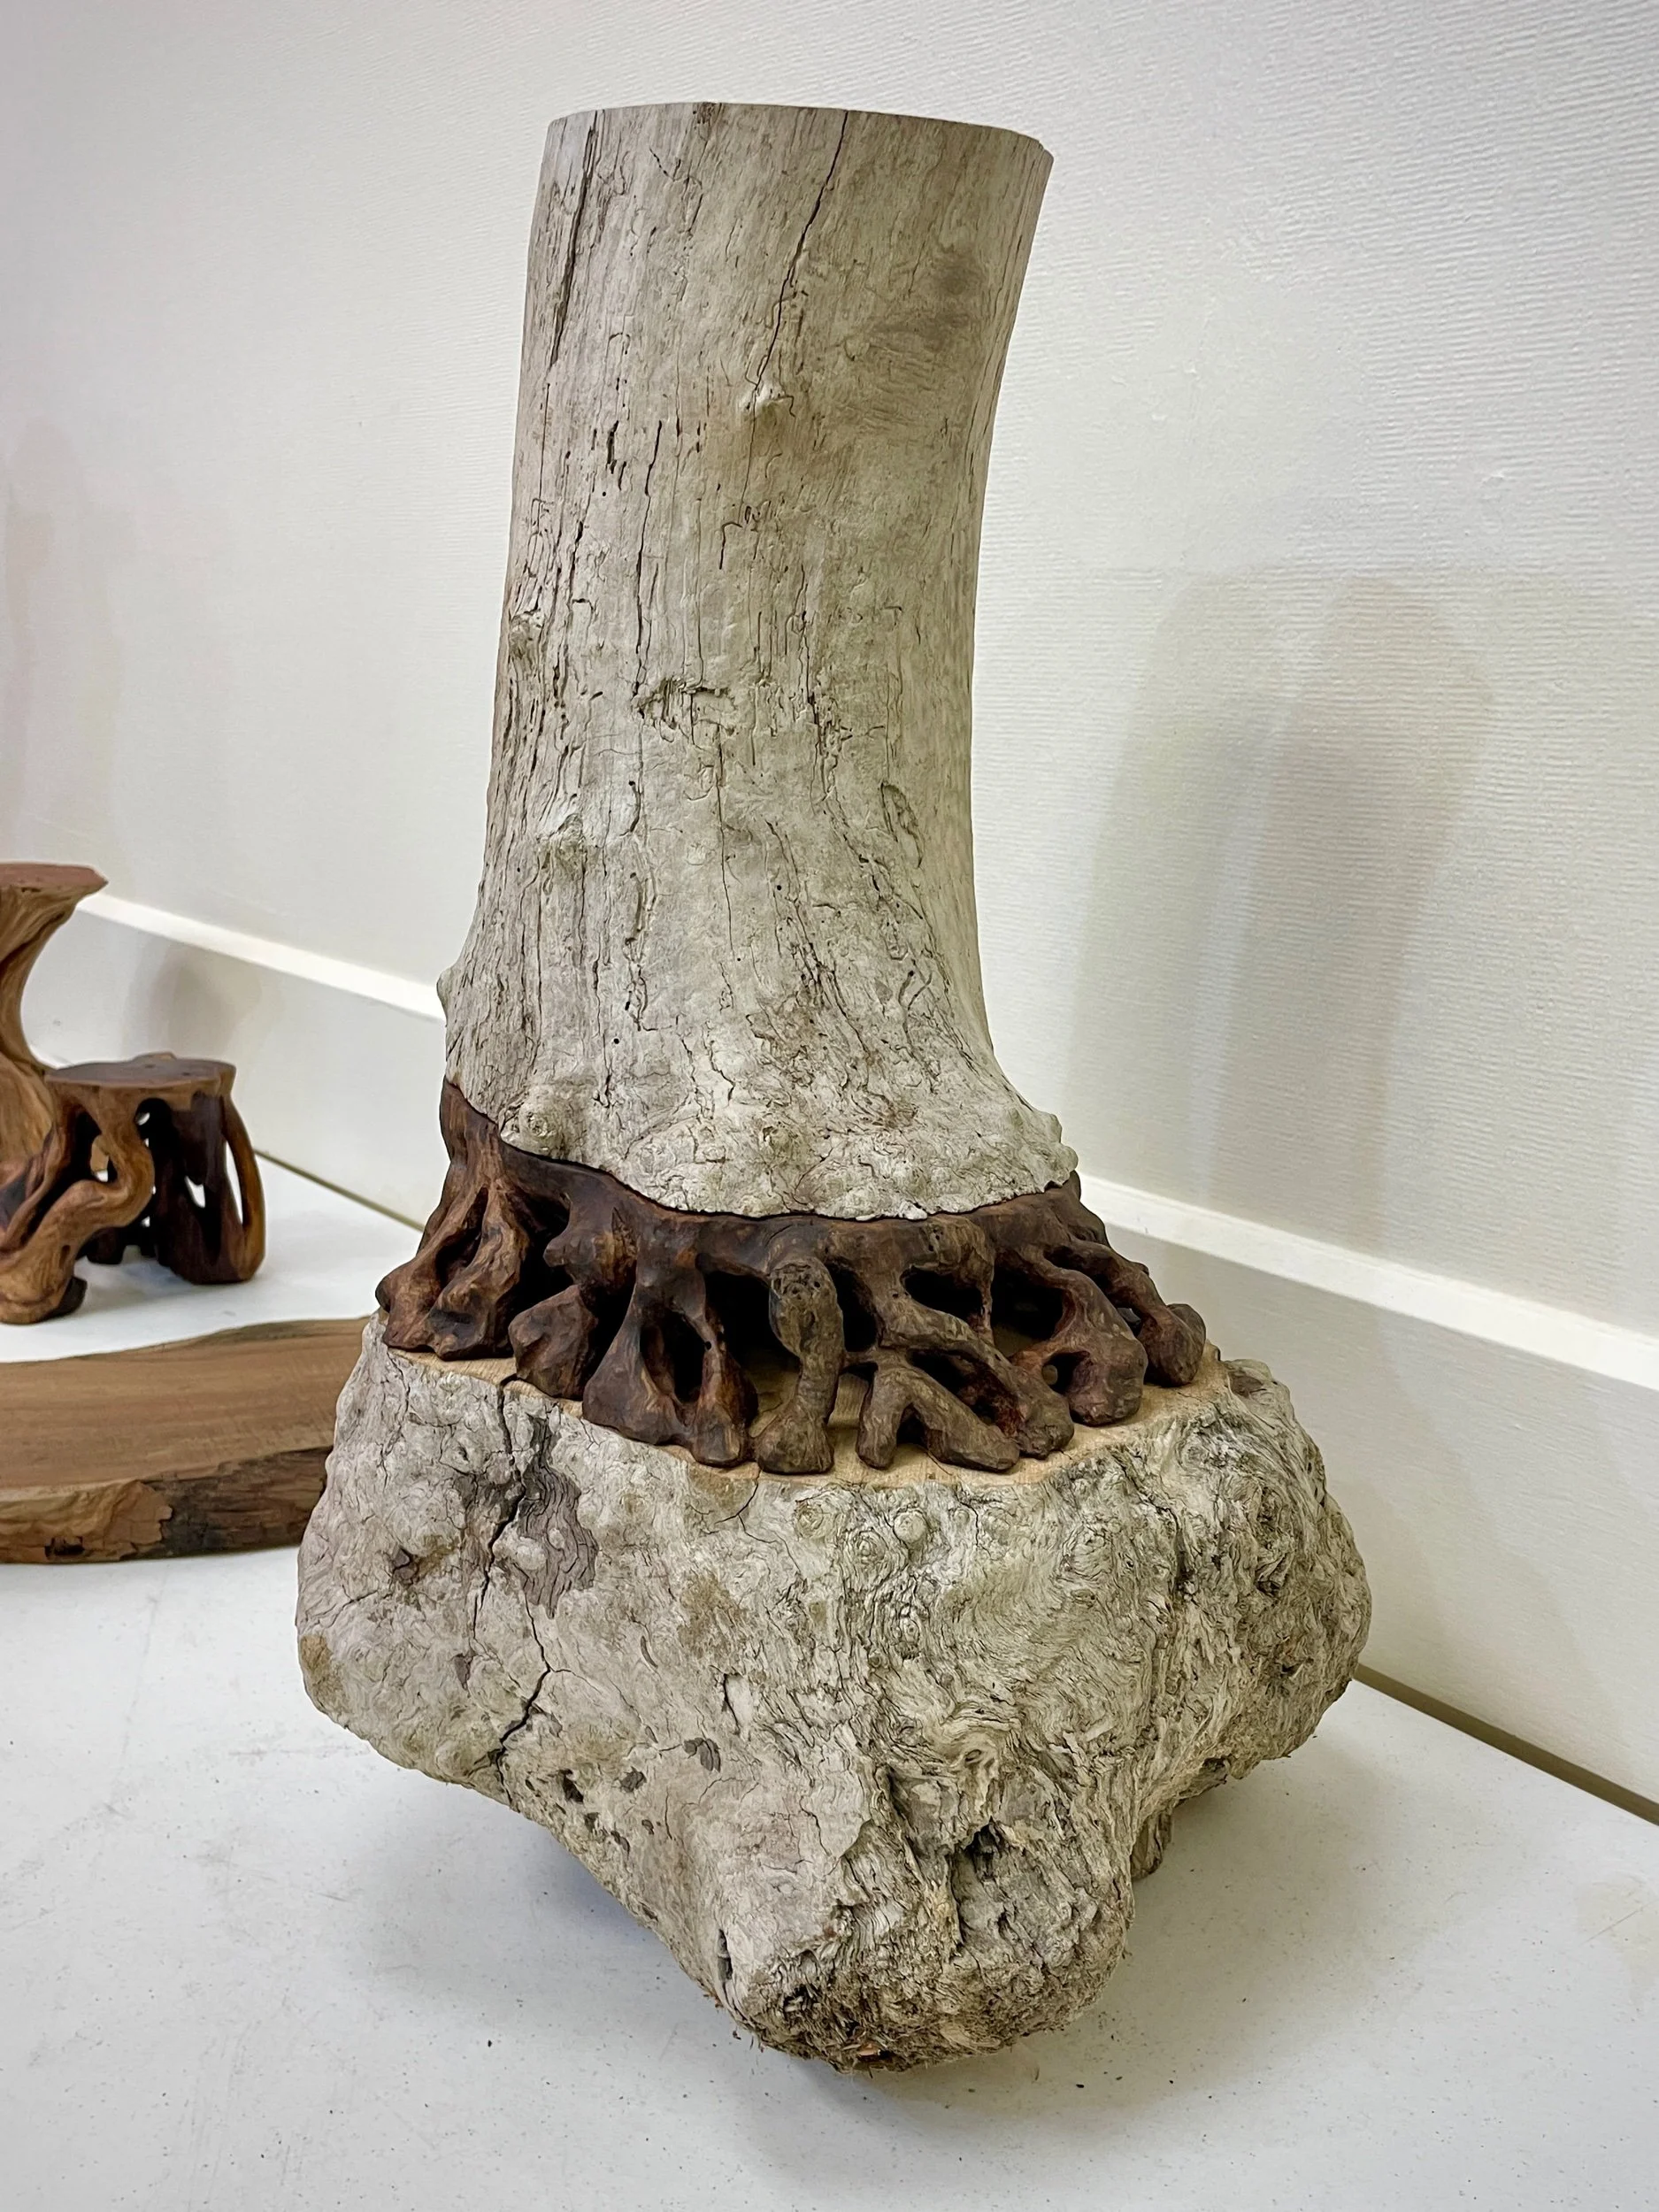
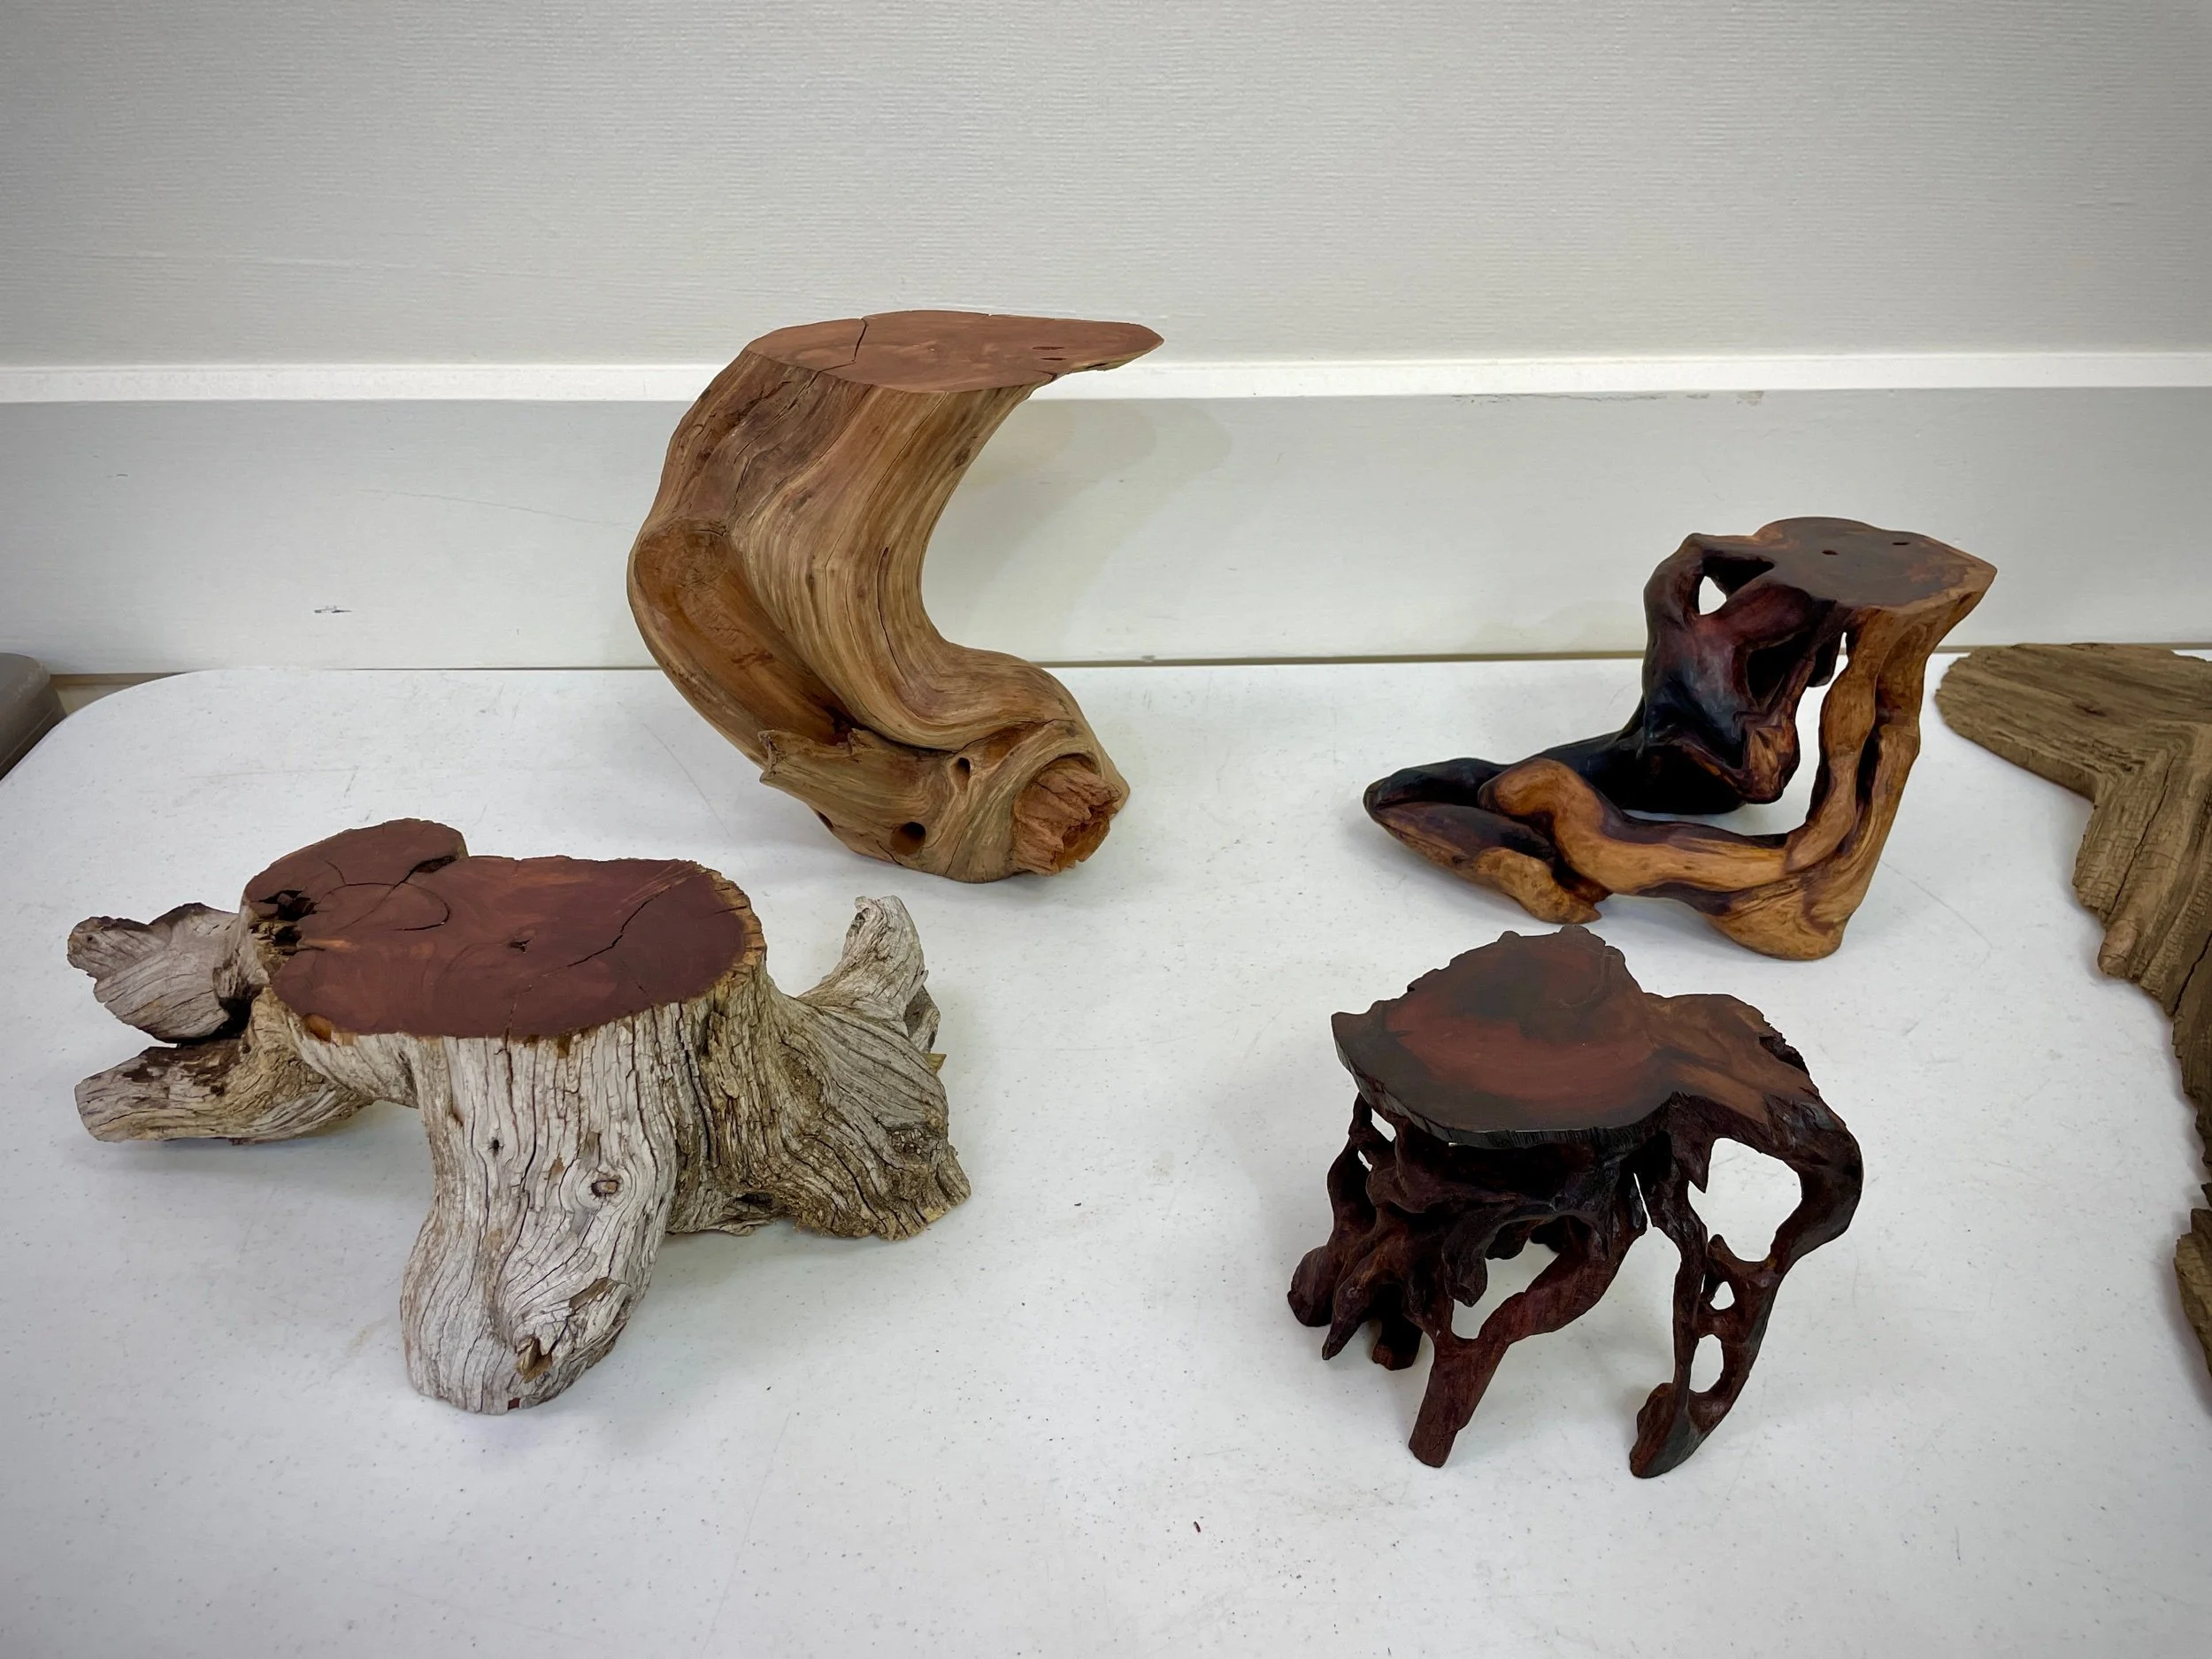
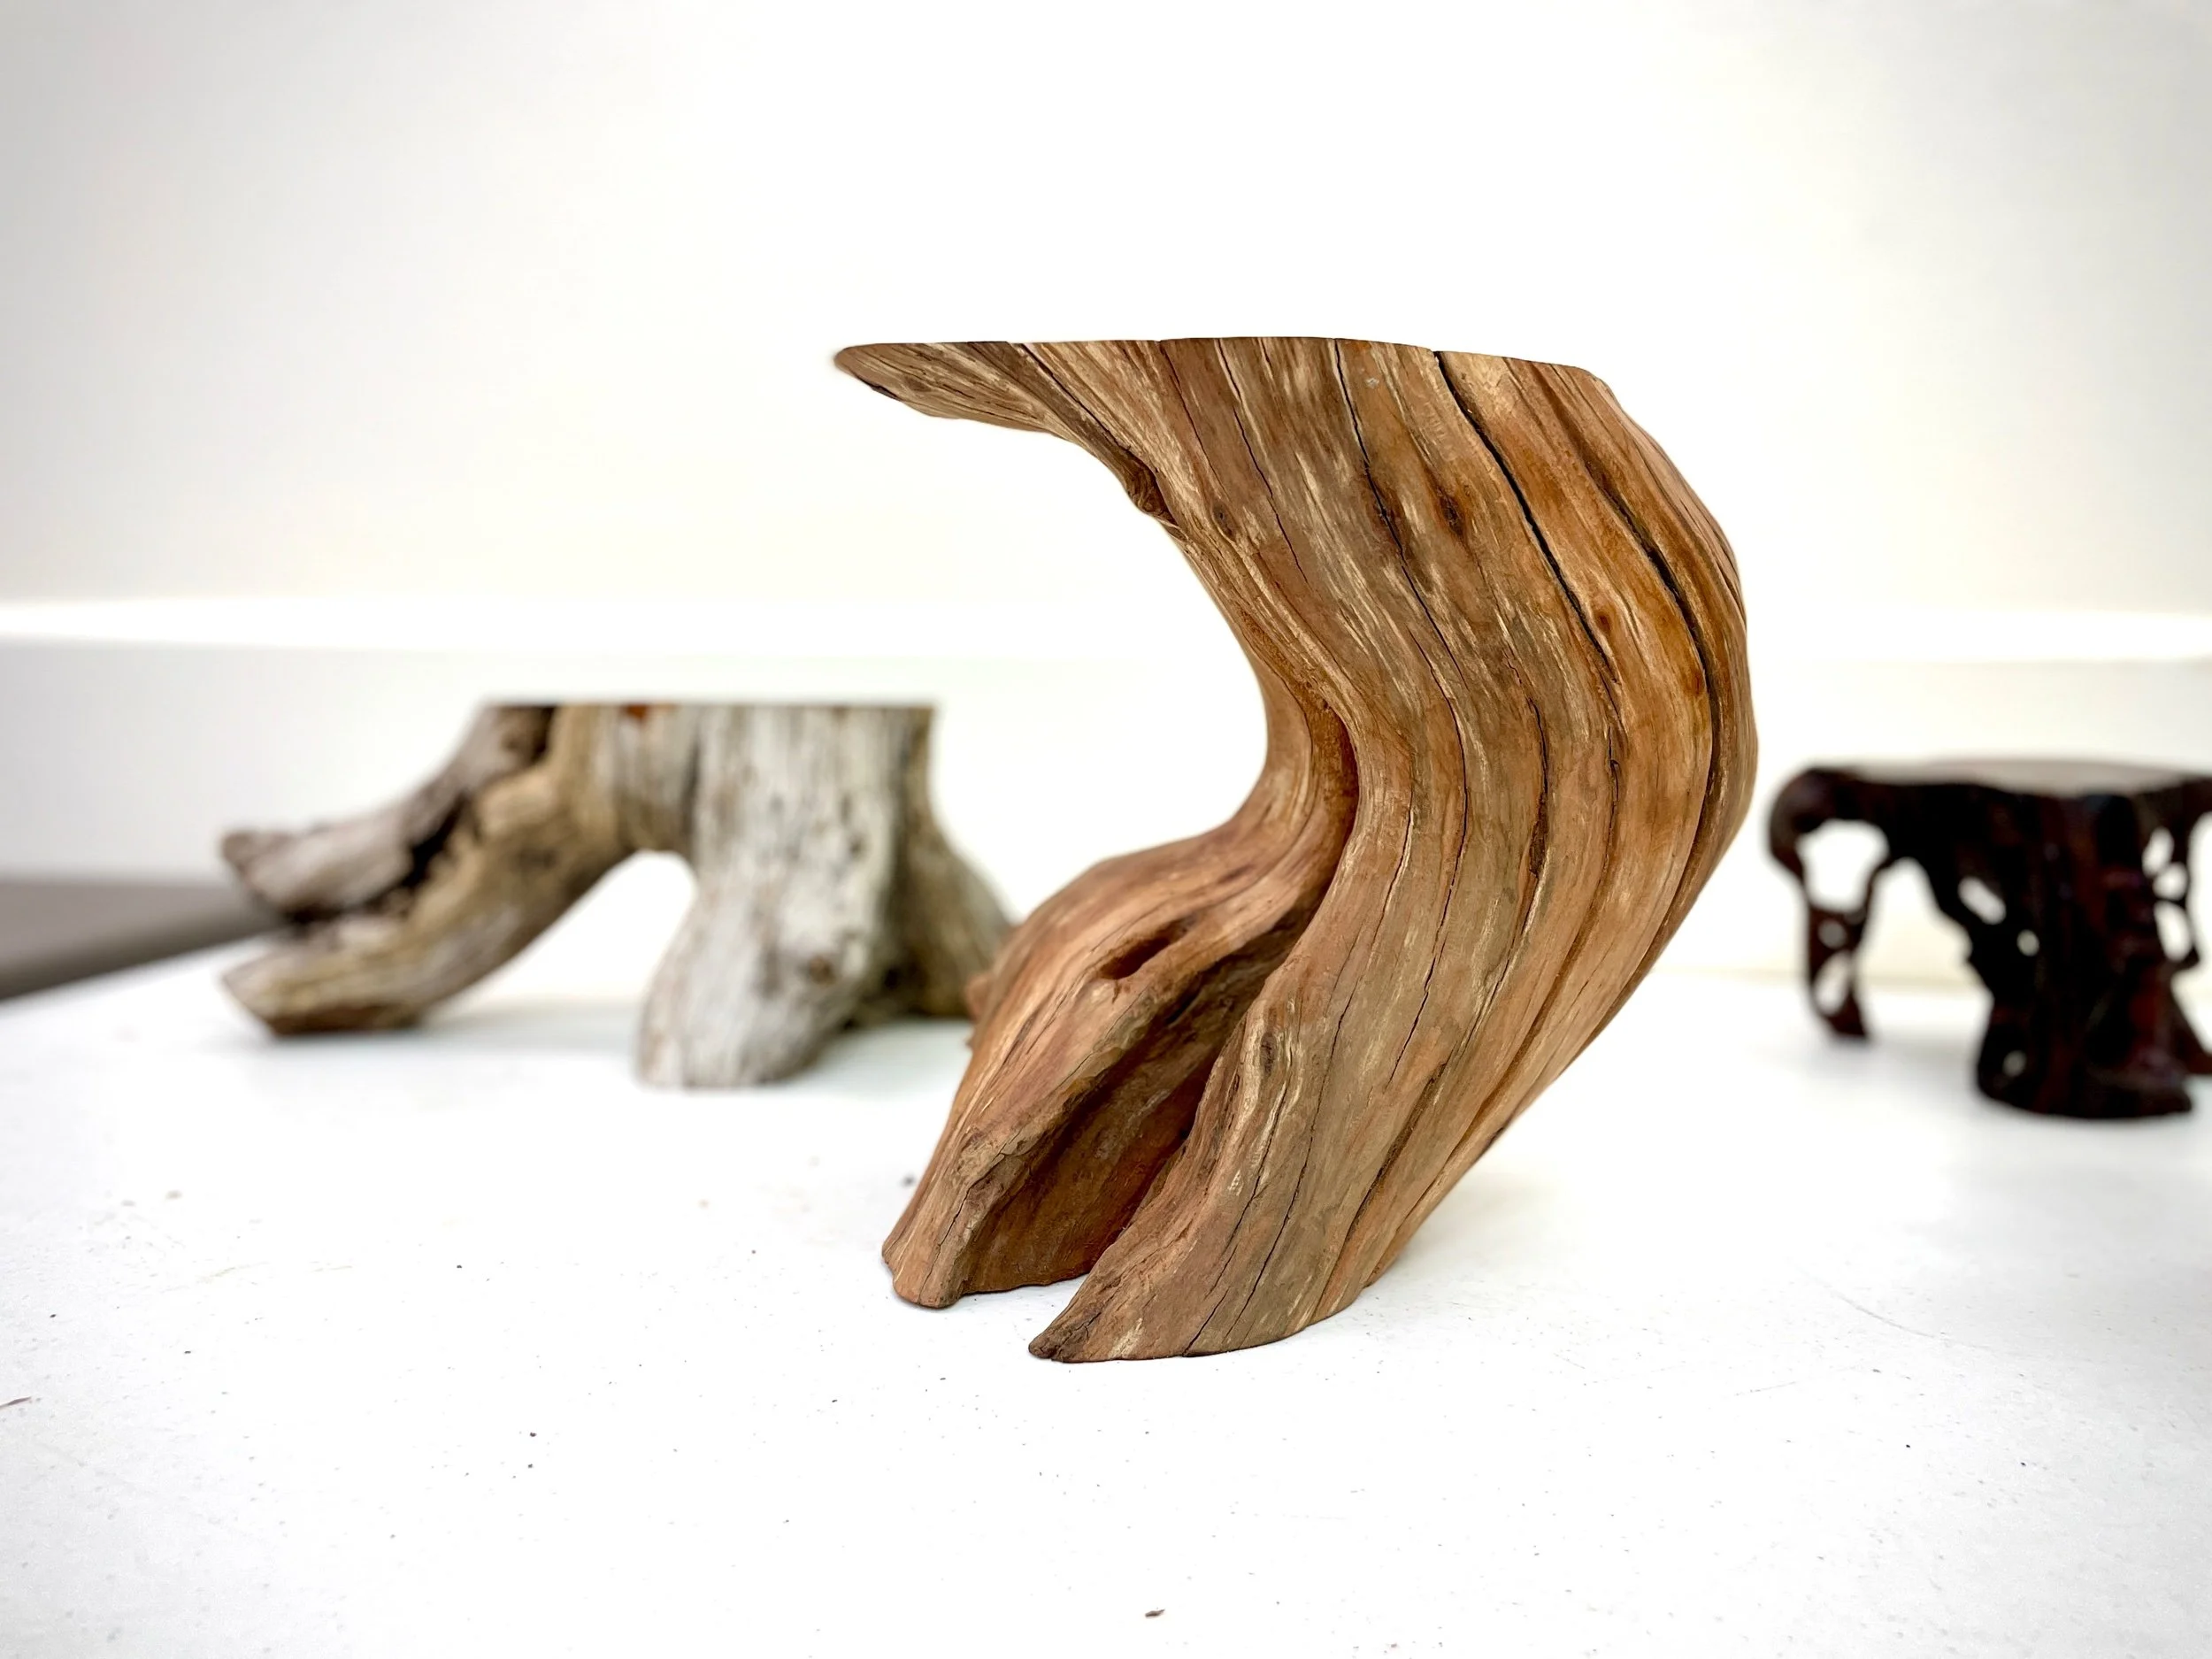
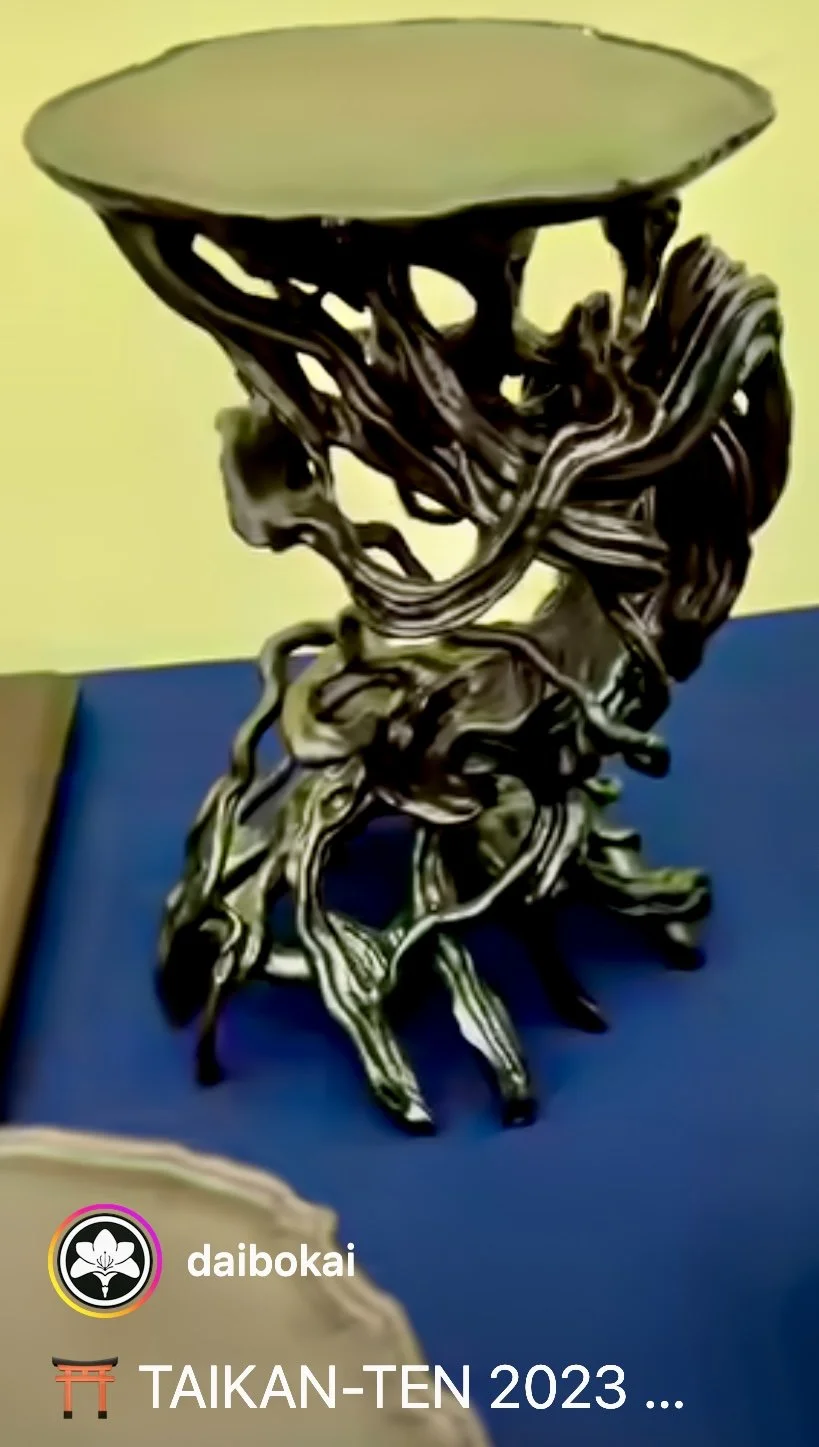
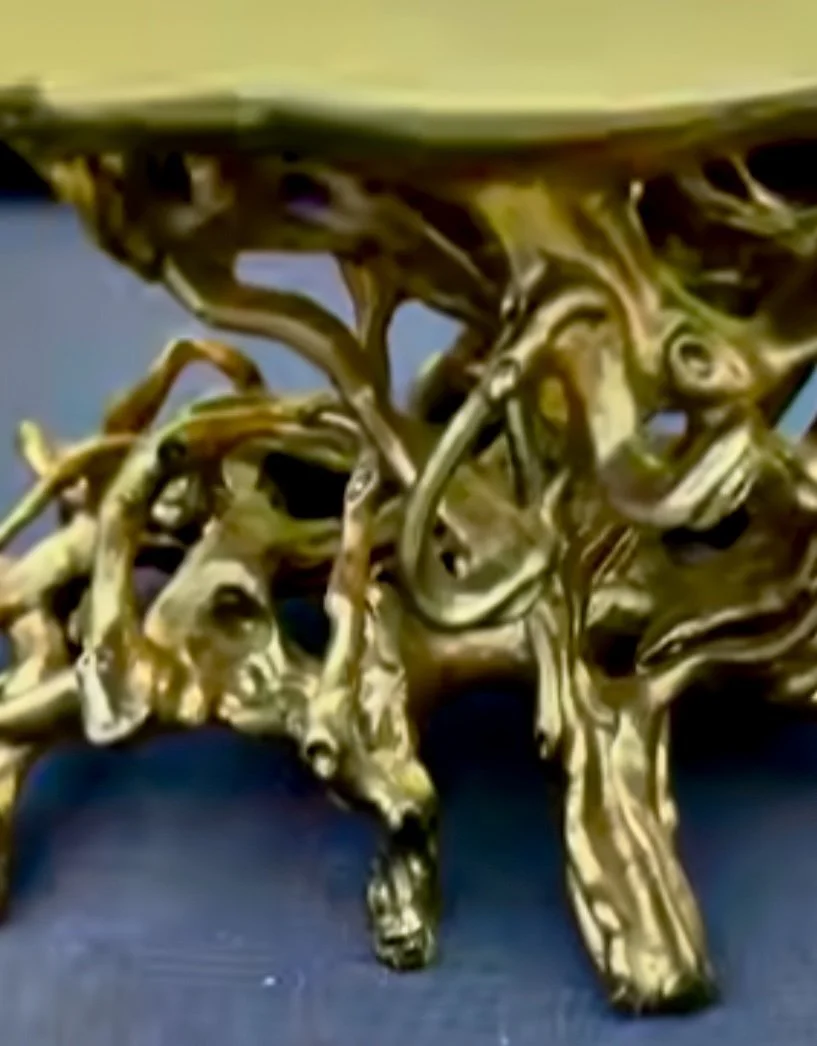
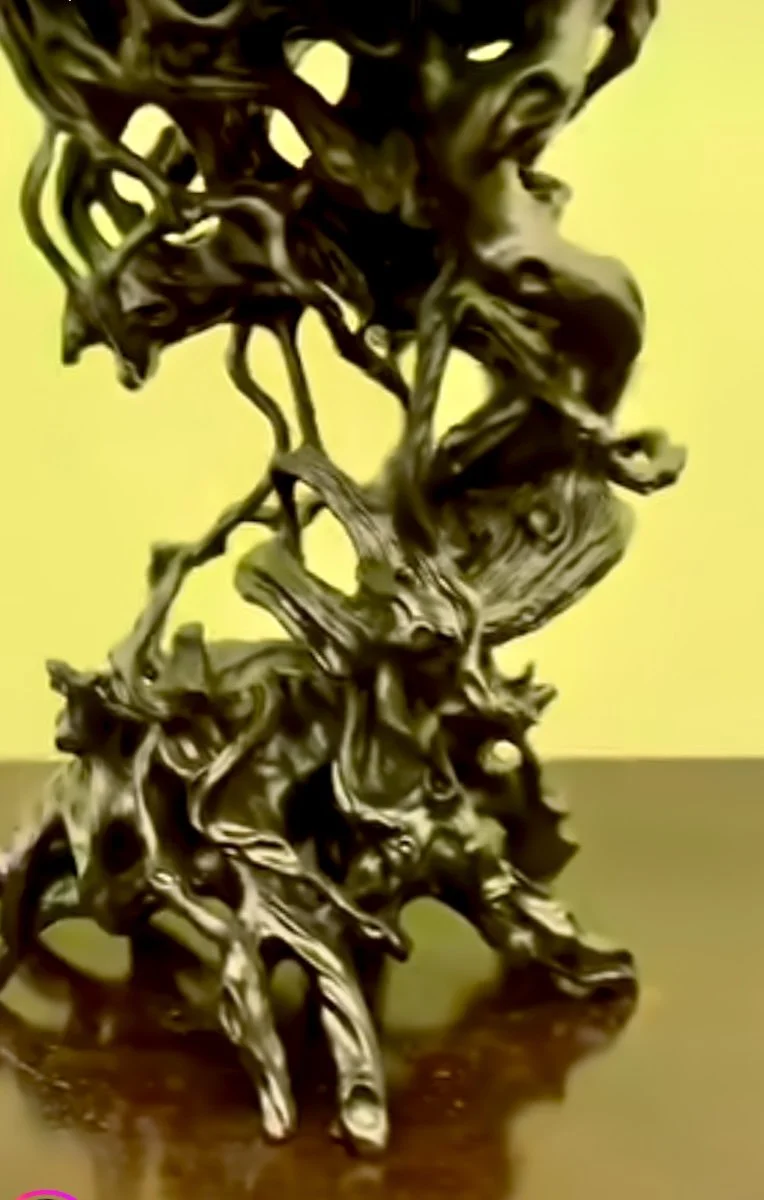
Root Style Carved Stands
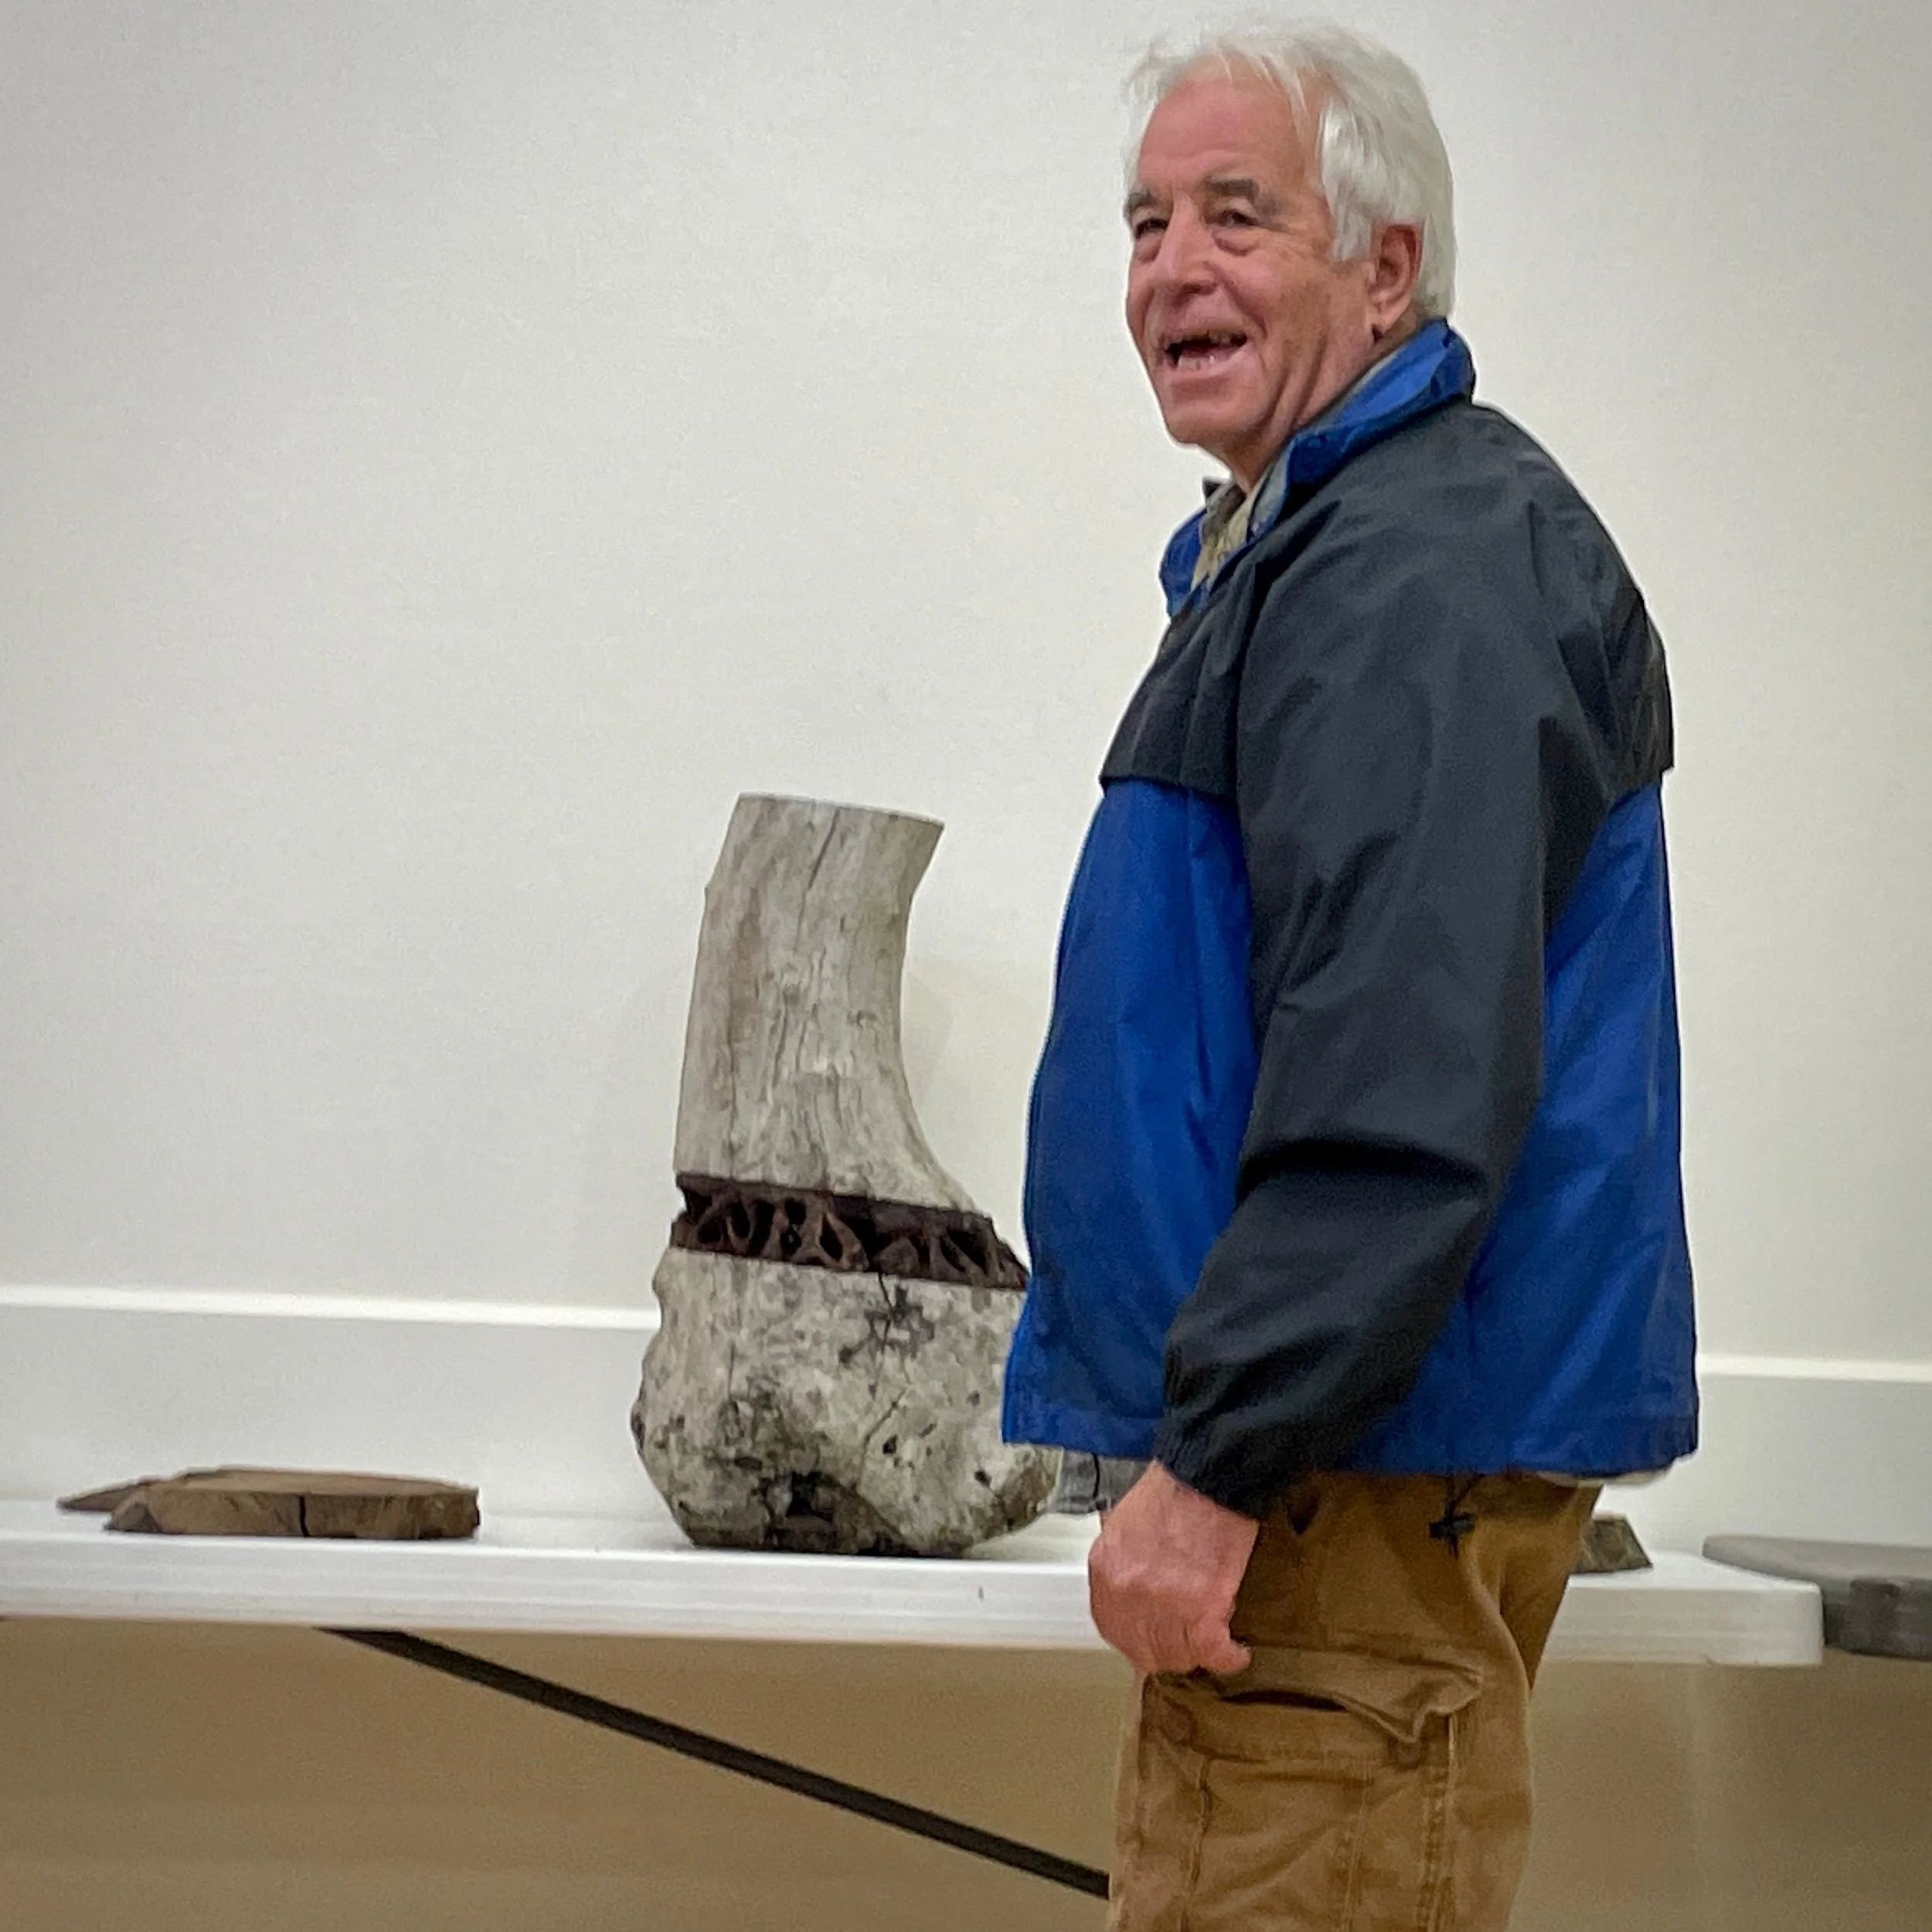
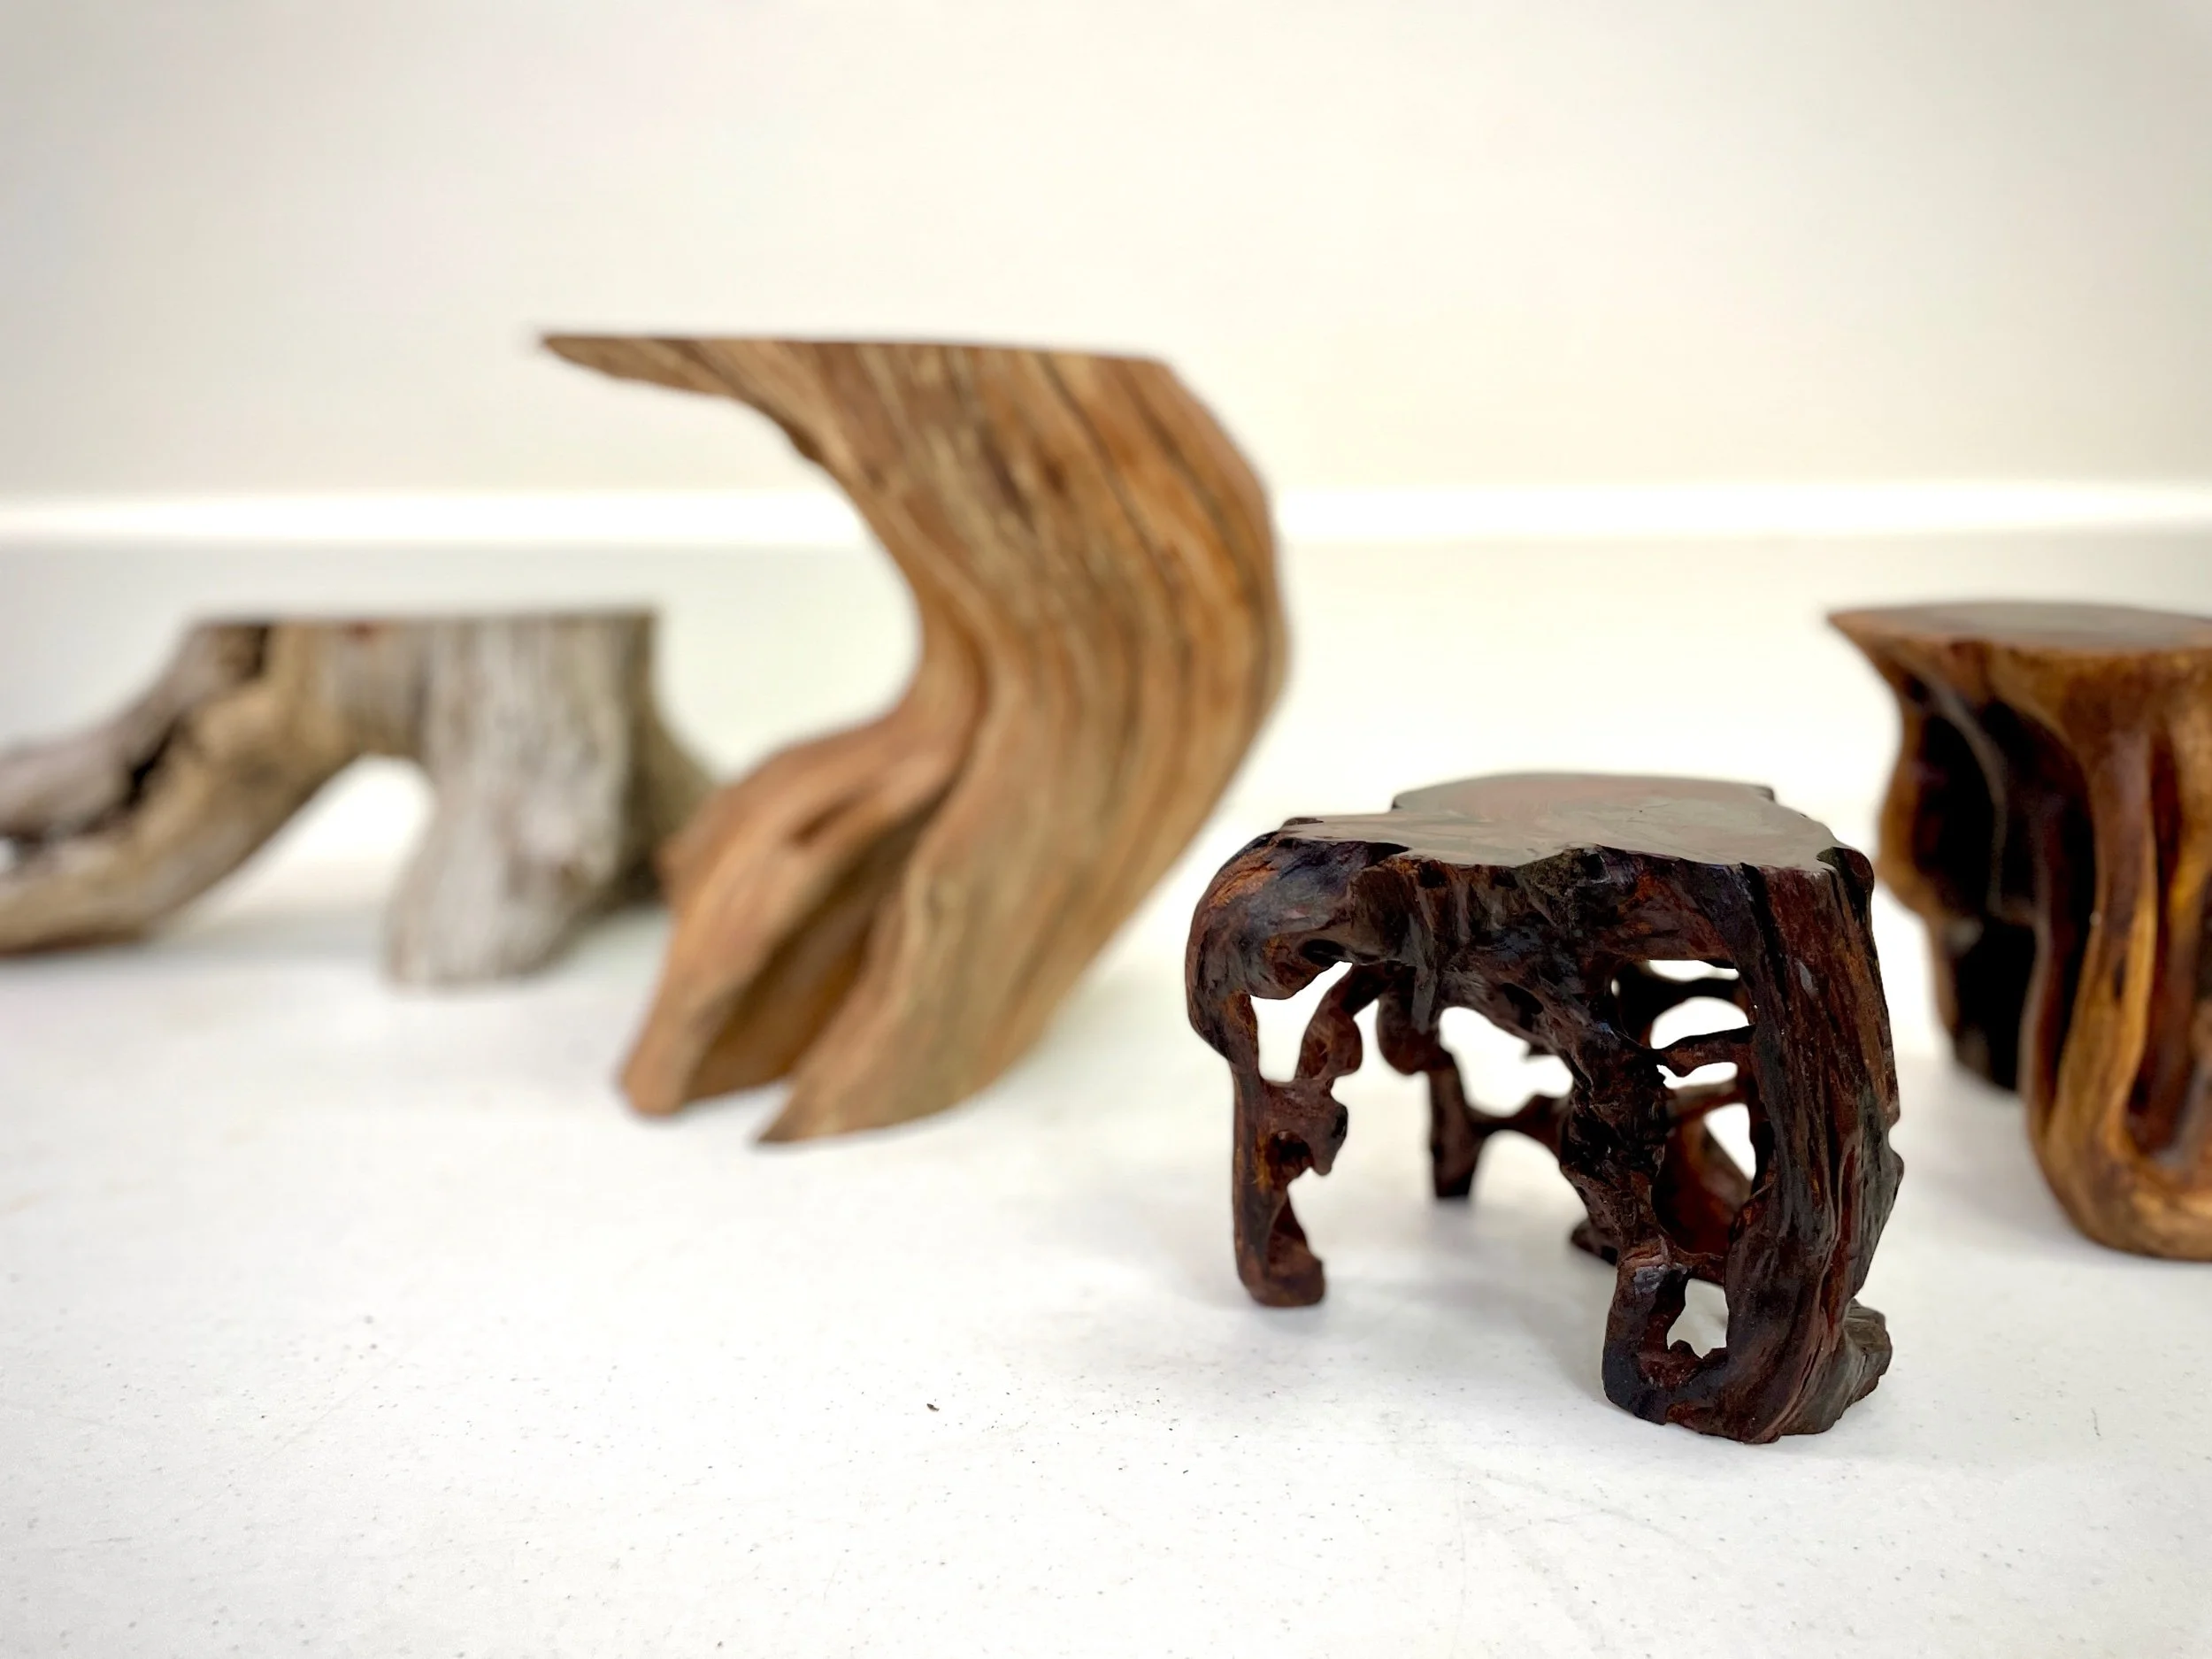
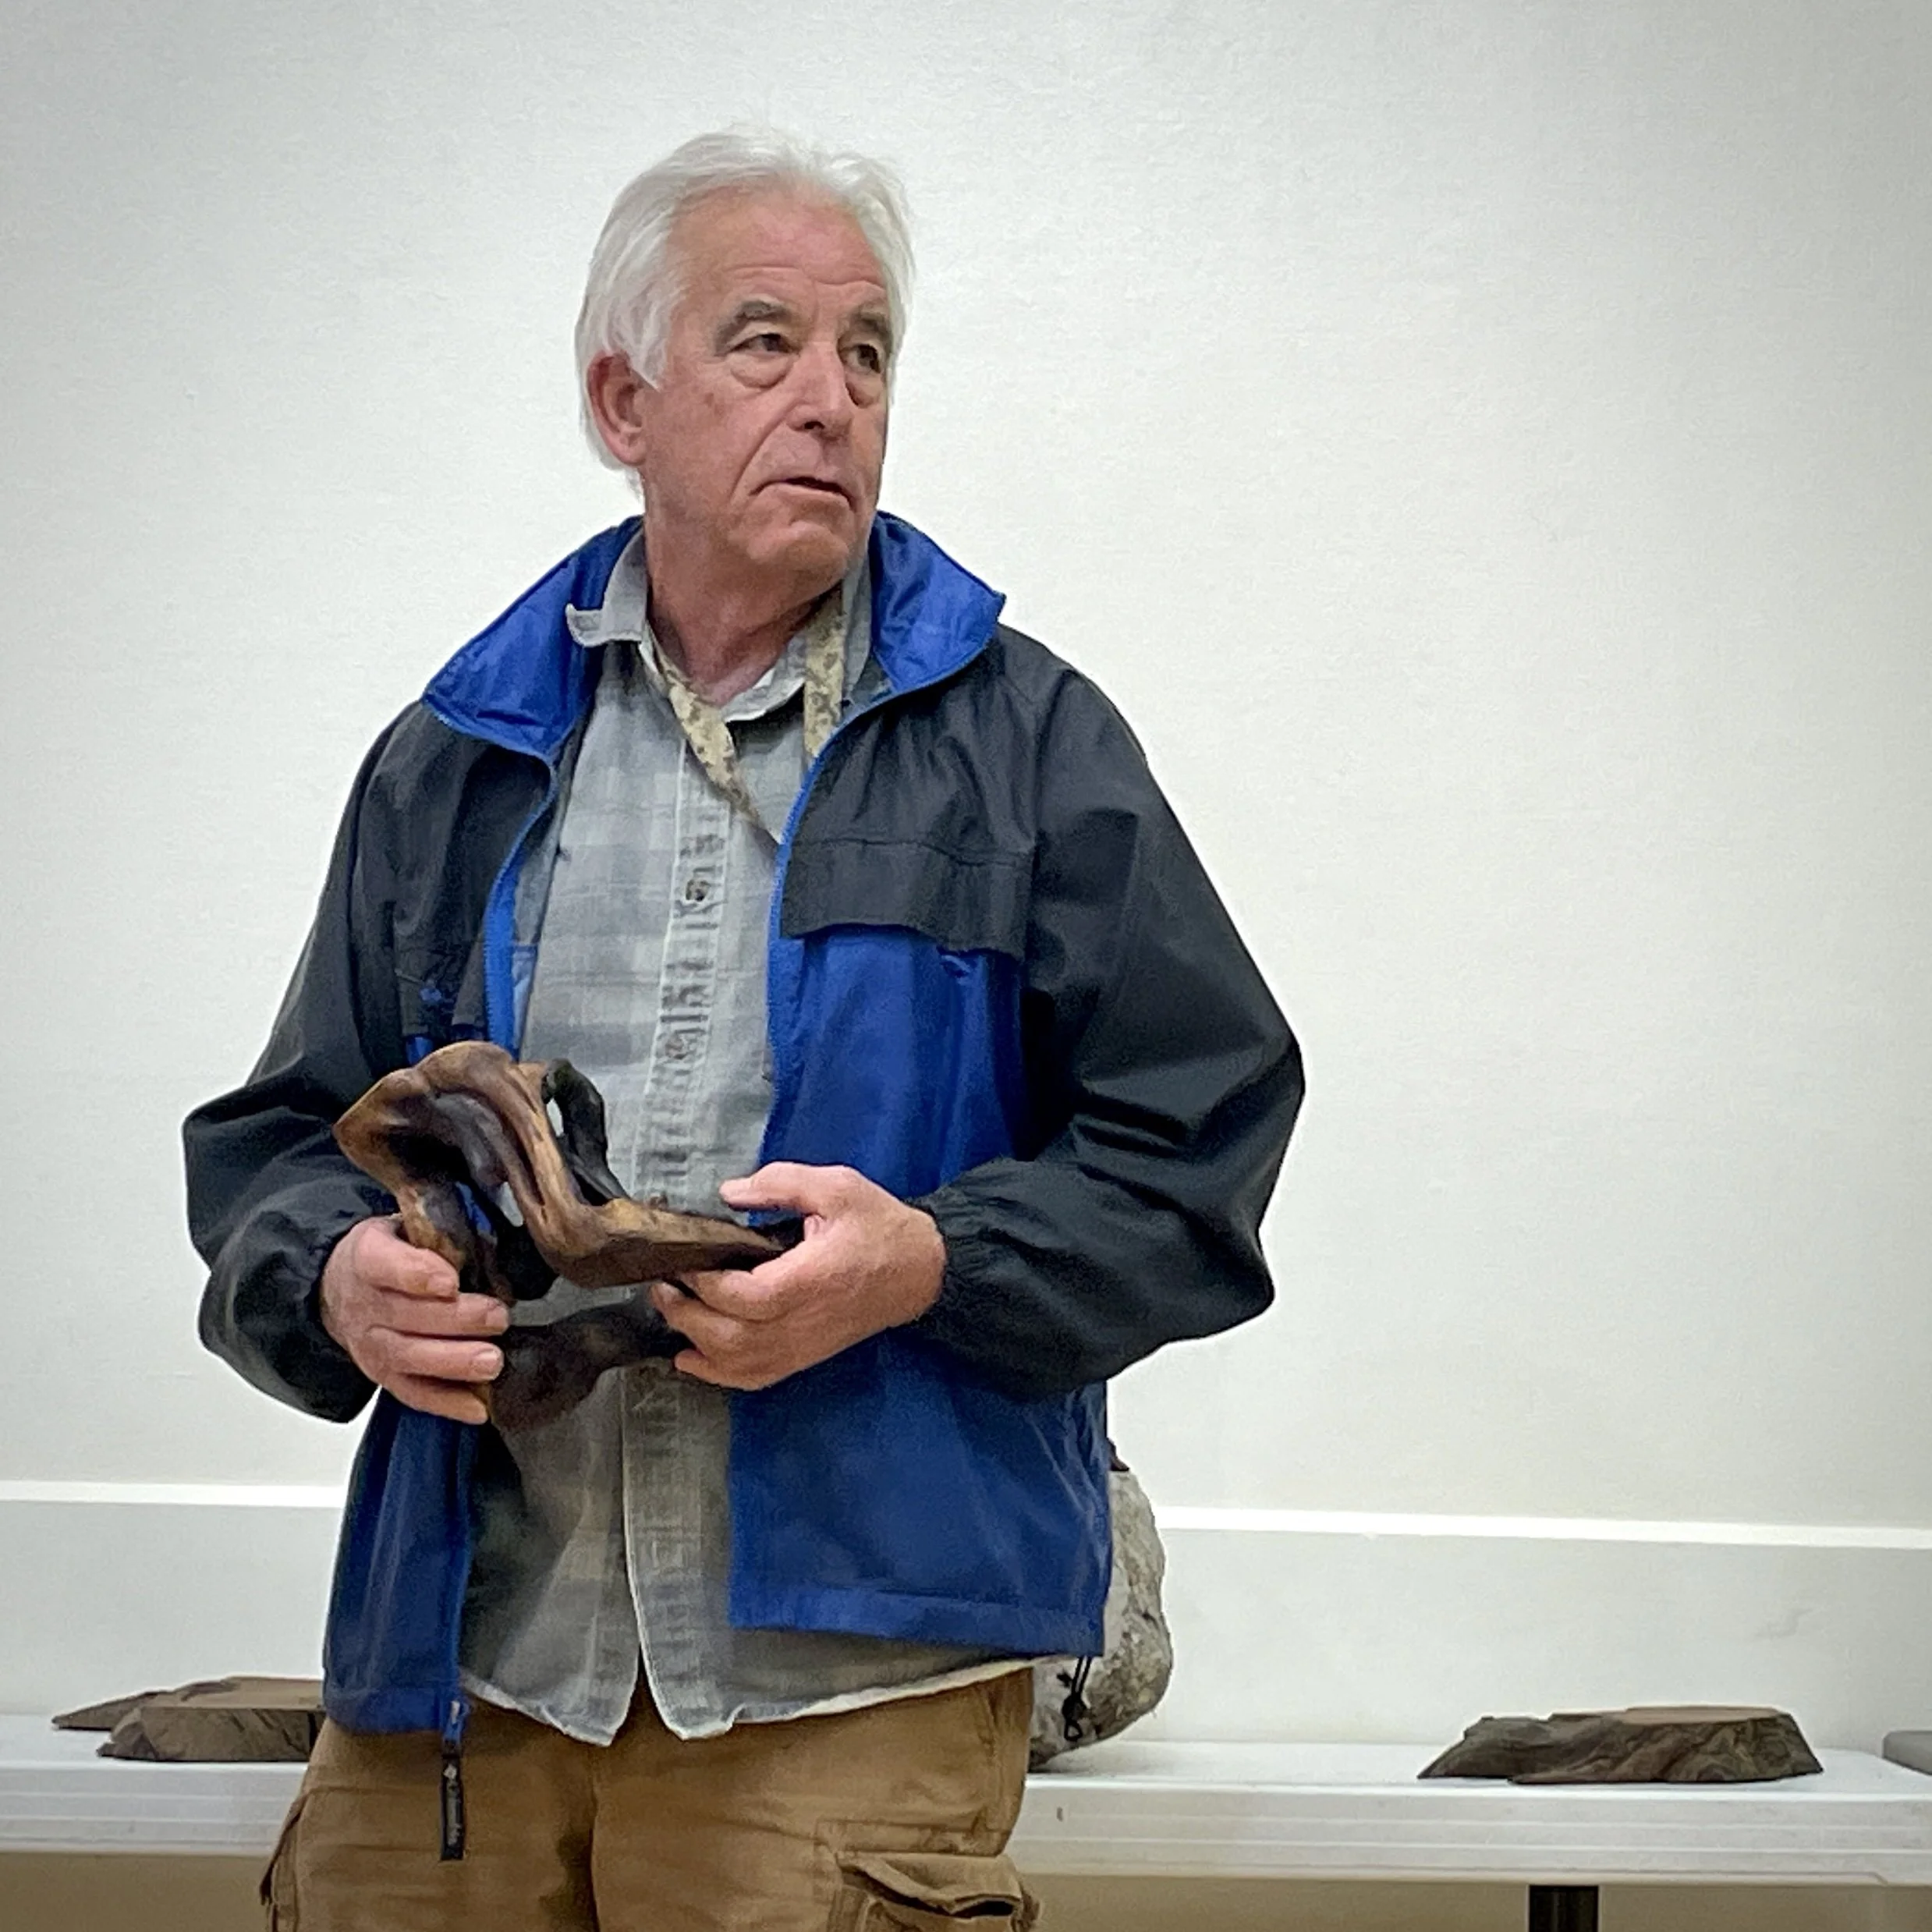
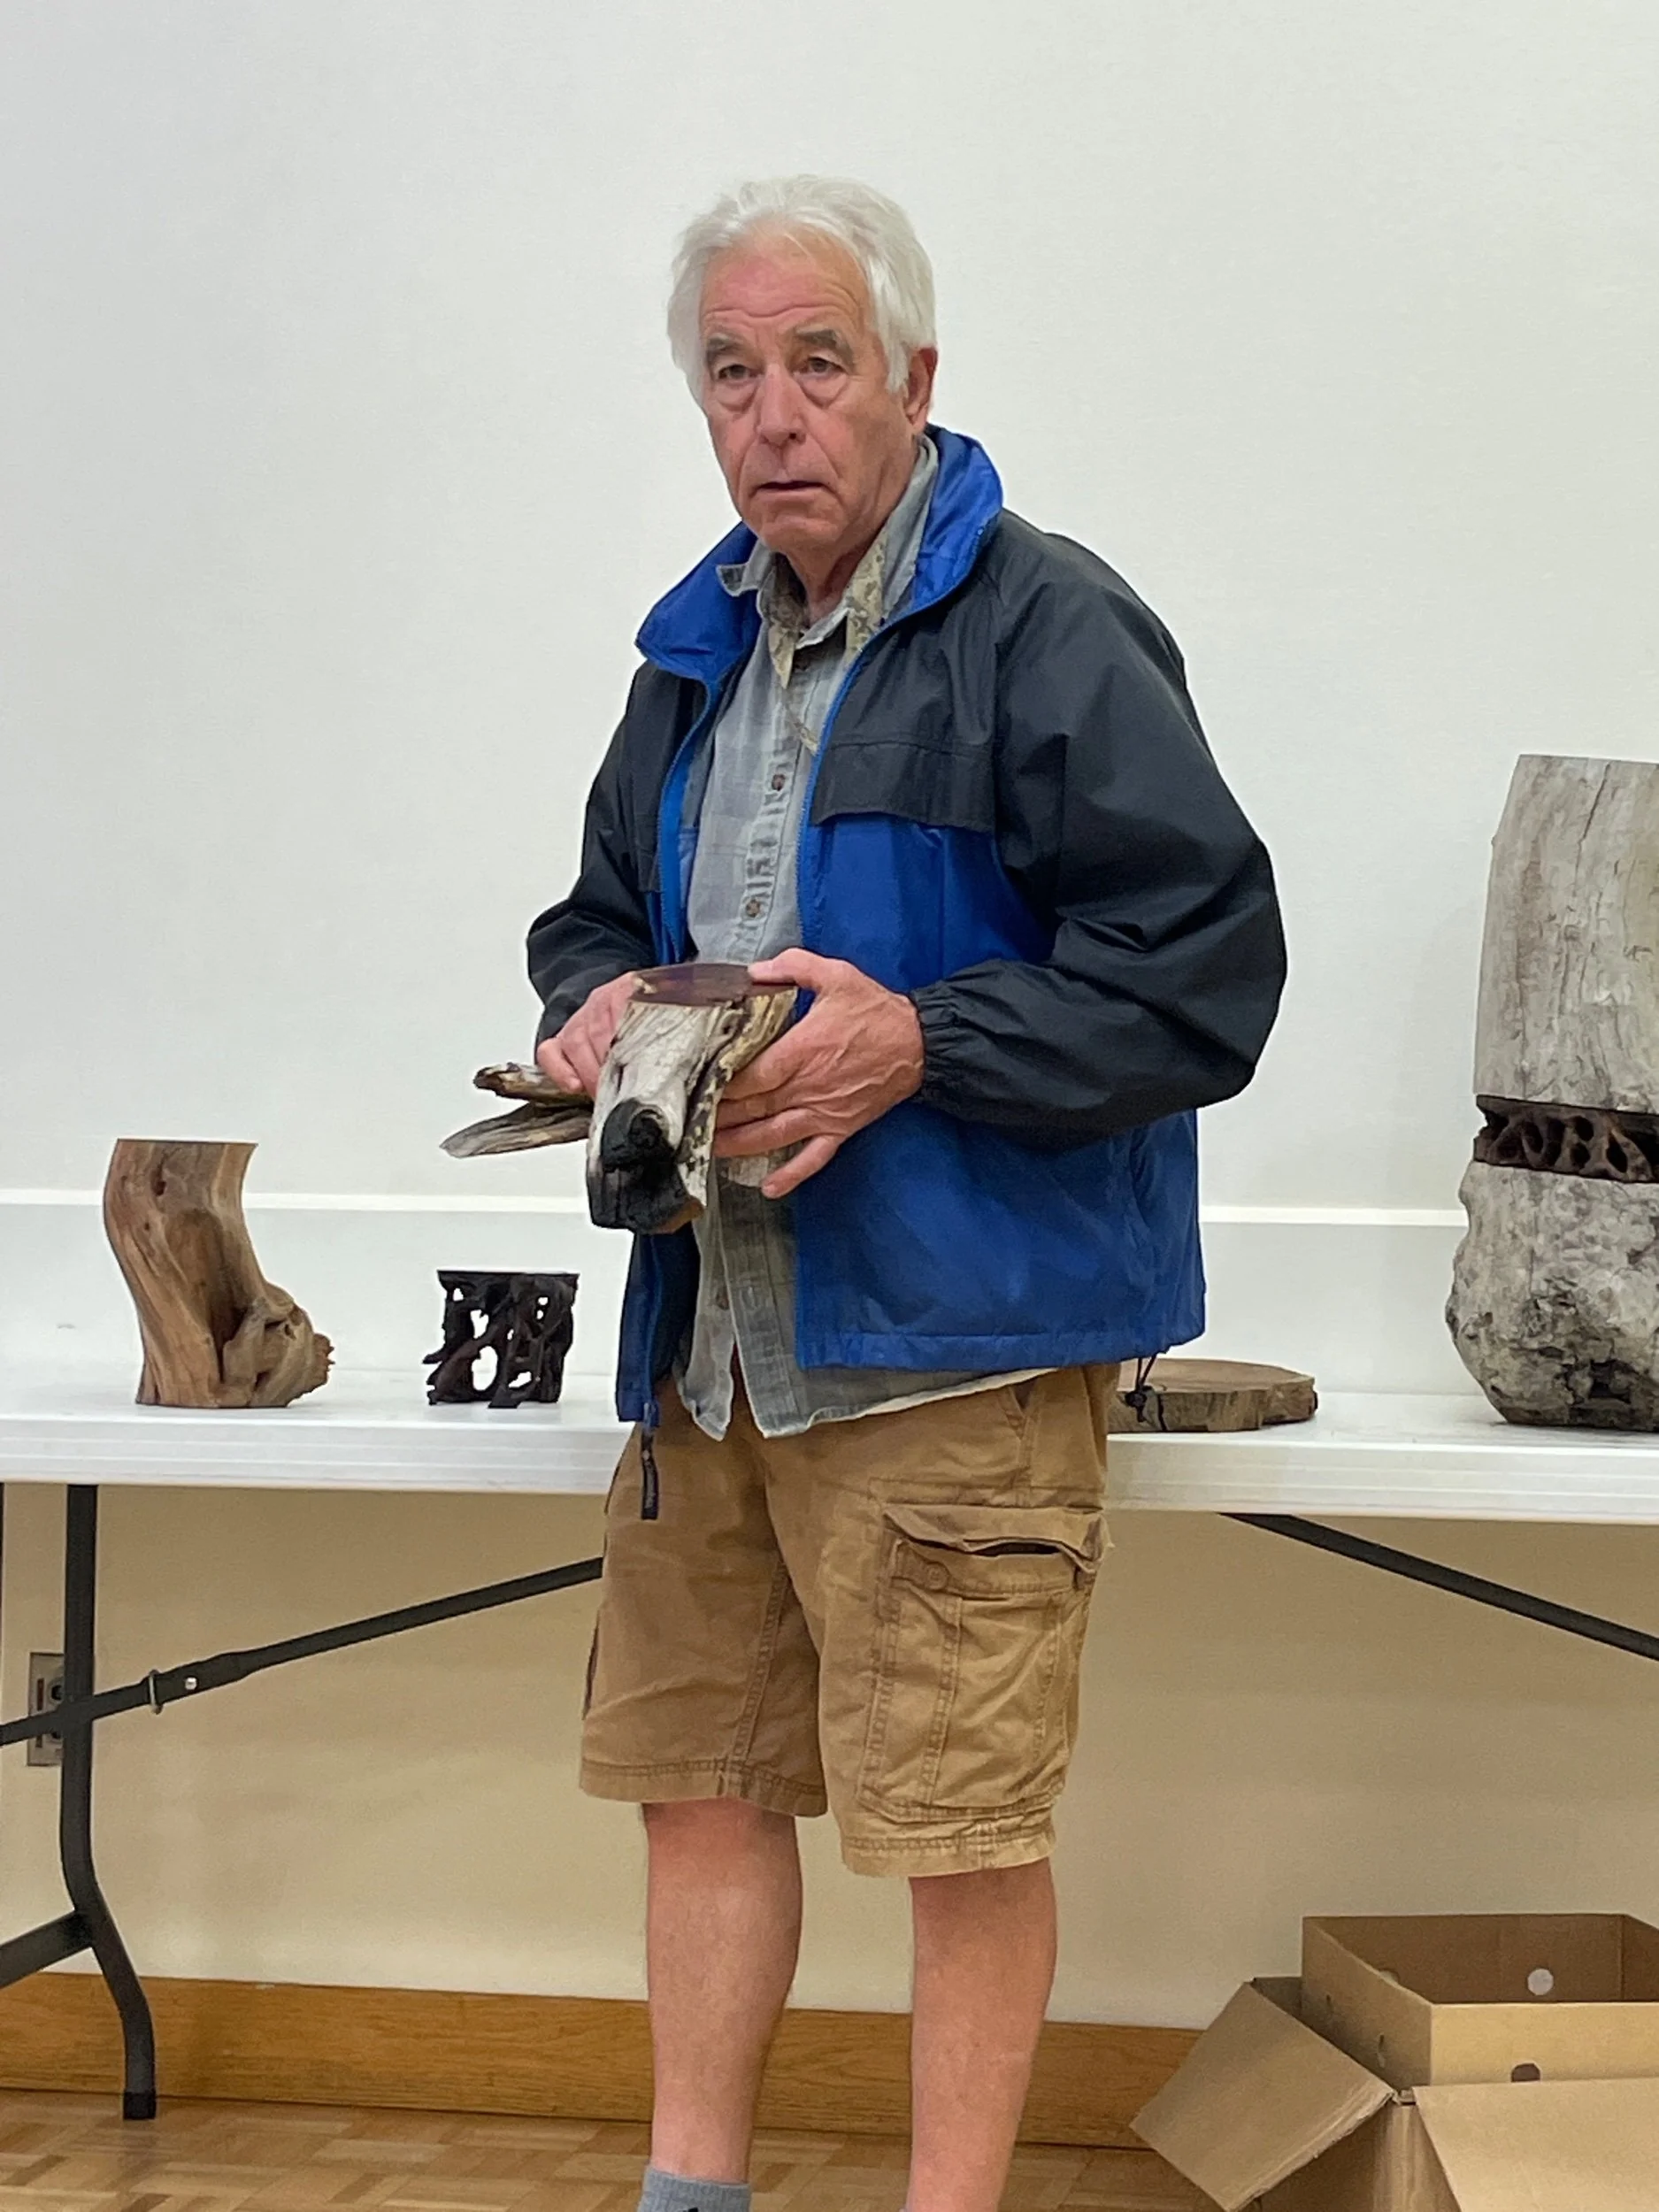
Gary Smith, a member of SBBK, shared his talents and experiences with carving stands.
“I started building formal stands during the lock-down, both for something to do and to use material scrap I had. A couple years ago, a friend gave me some pieces of wood he gathered from a fire and another gave me some driftwood he'd collected and I started making less formal stands. both are fun and challenging in different ways.”
Process
When I gather material, I look for pieces that I think will have interesting grain inside (guesswork) and aren't too large for me to cut.
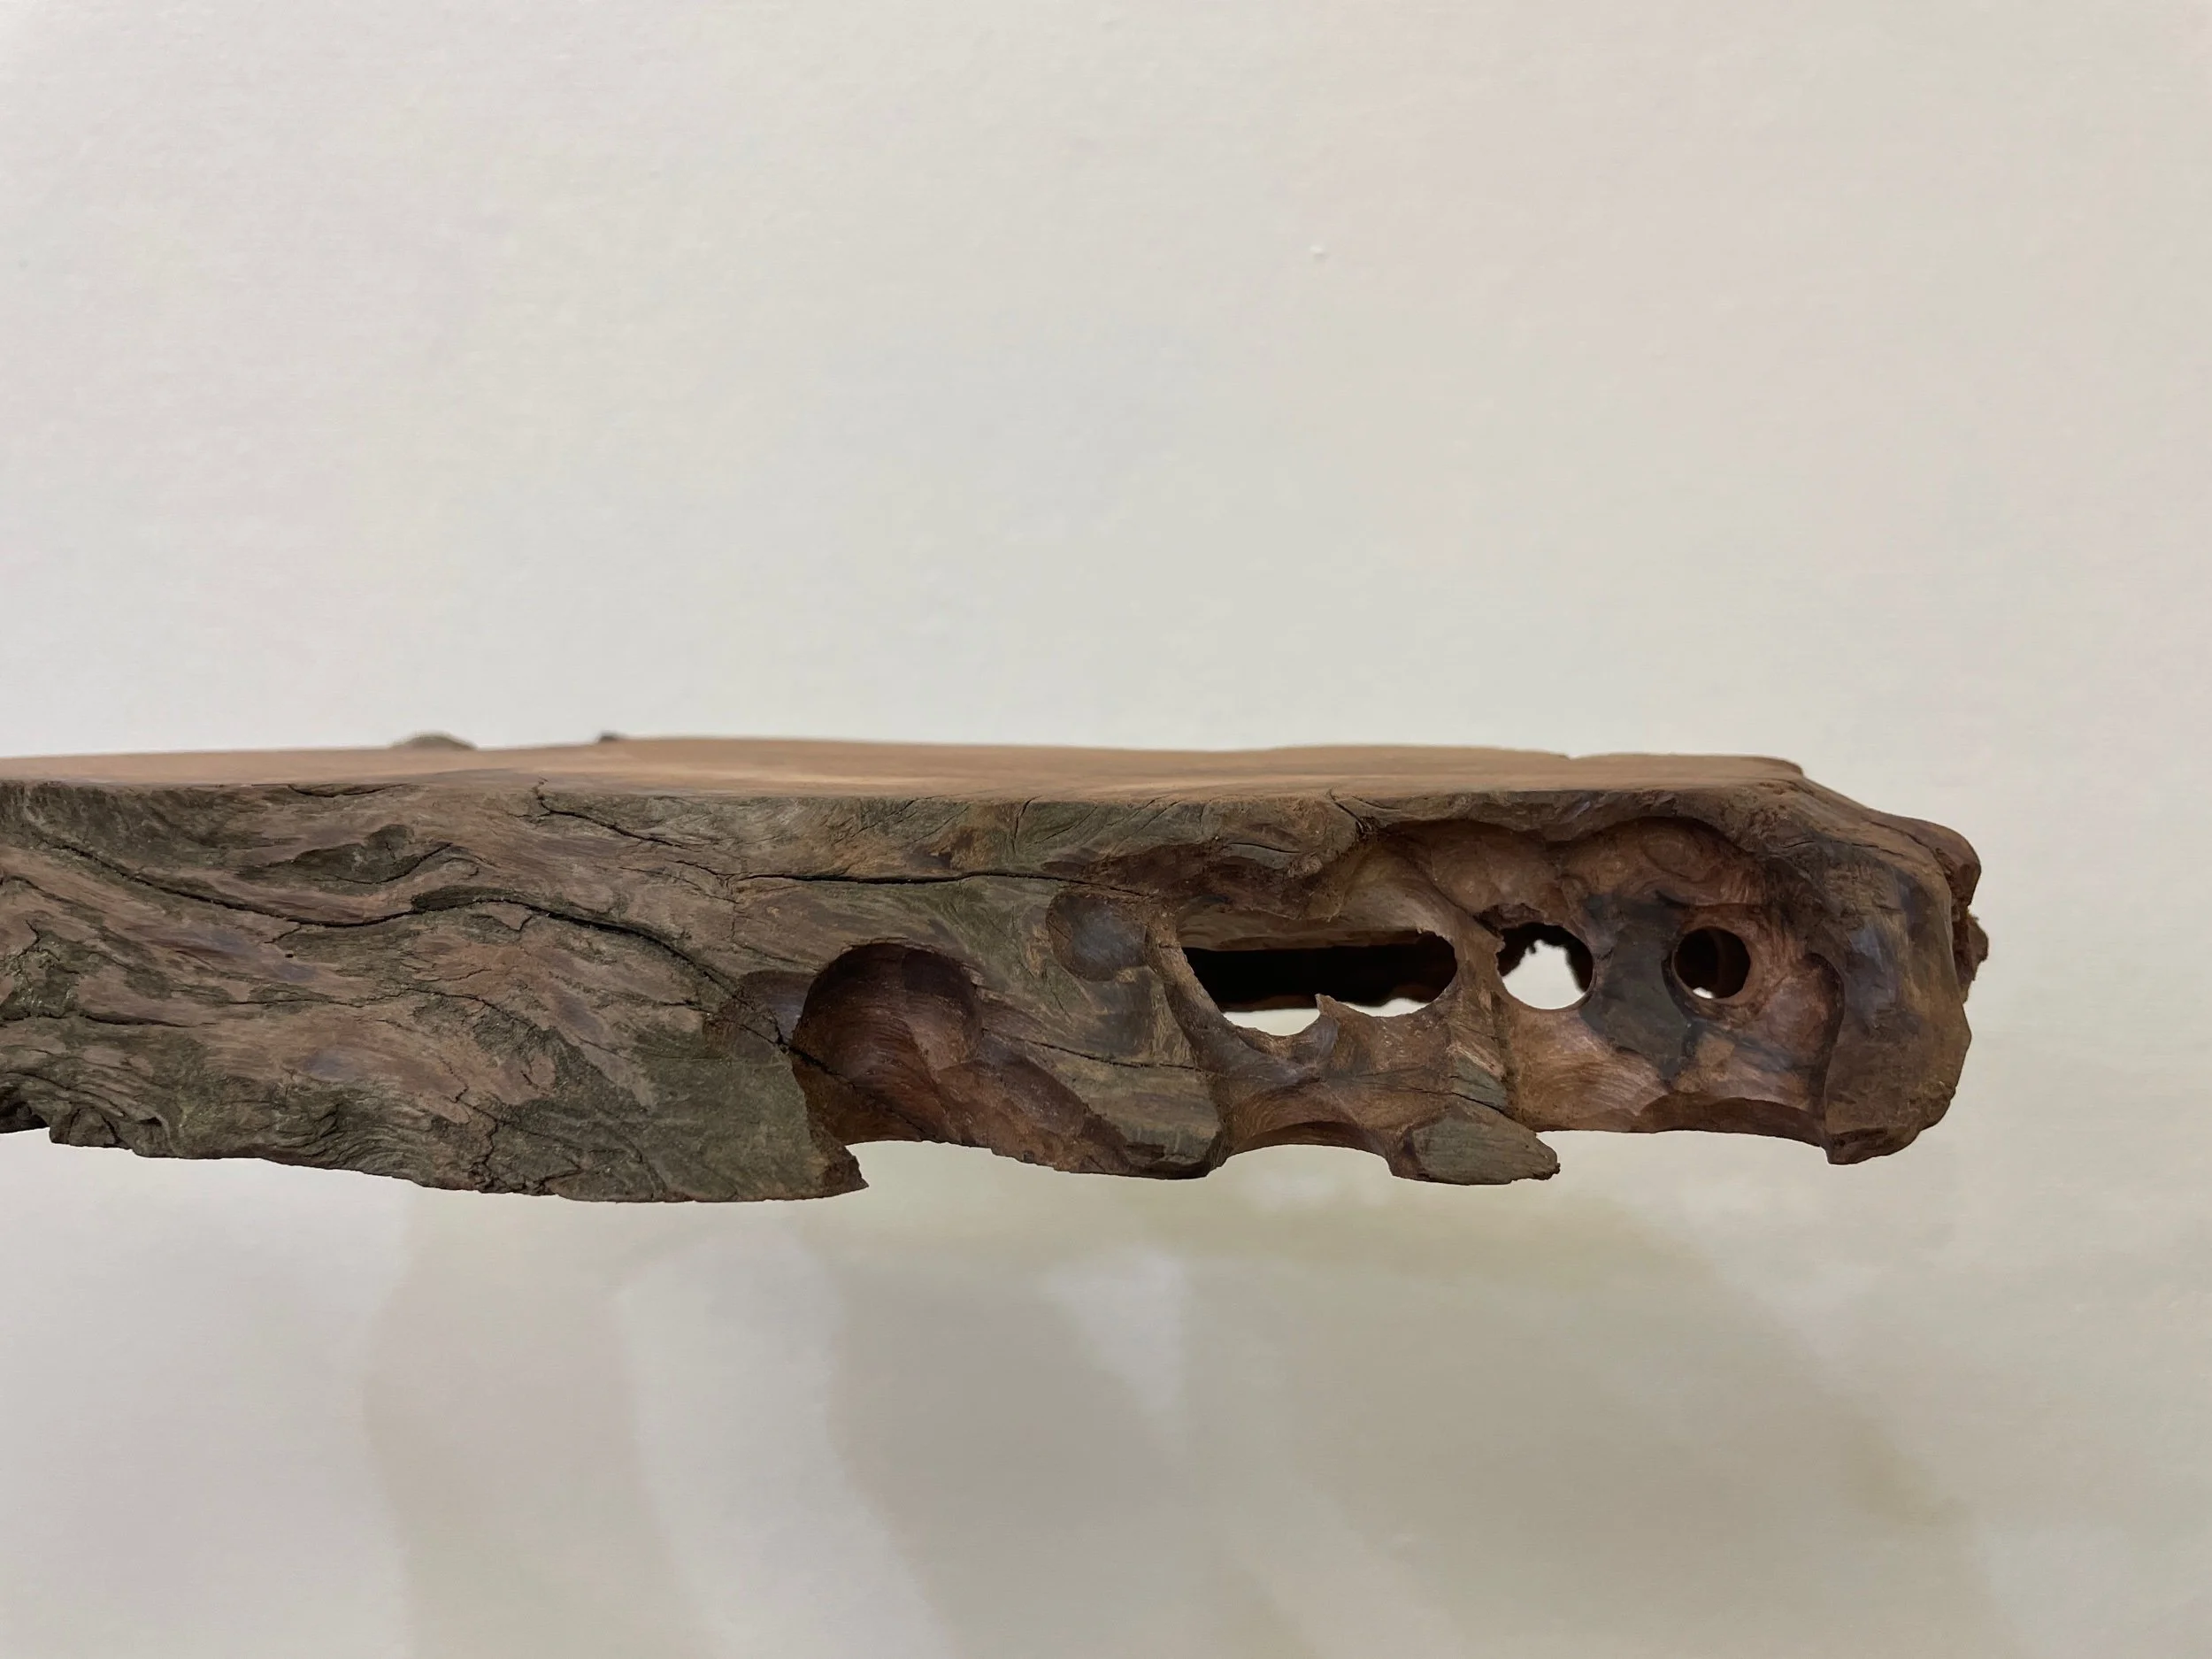
The first cut establishes both the top and bottom planes. The top is pretty much the only surface that should appear cut, everything else should look like it was mother nature's handywork.
The height of the stands is largely limited by the working capacity of my tools.
If the stand isn't balanced, I just re-cut the parallel planes.
I don't sketch or work from any formal plans
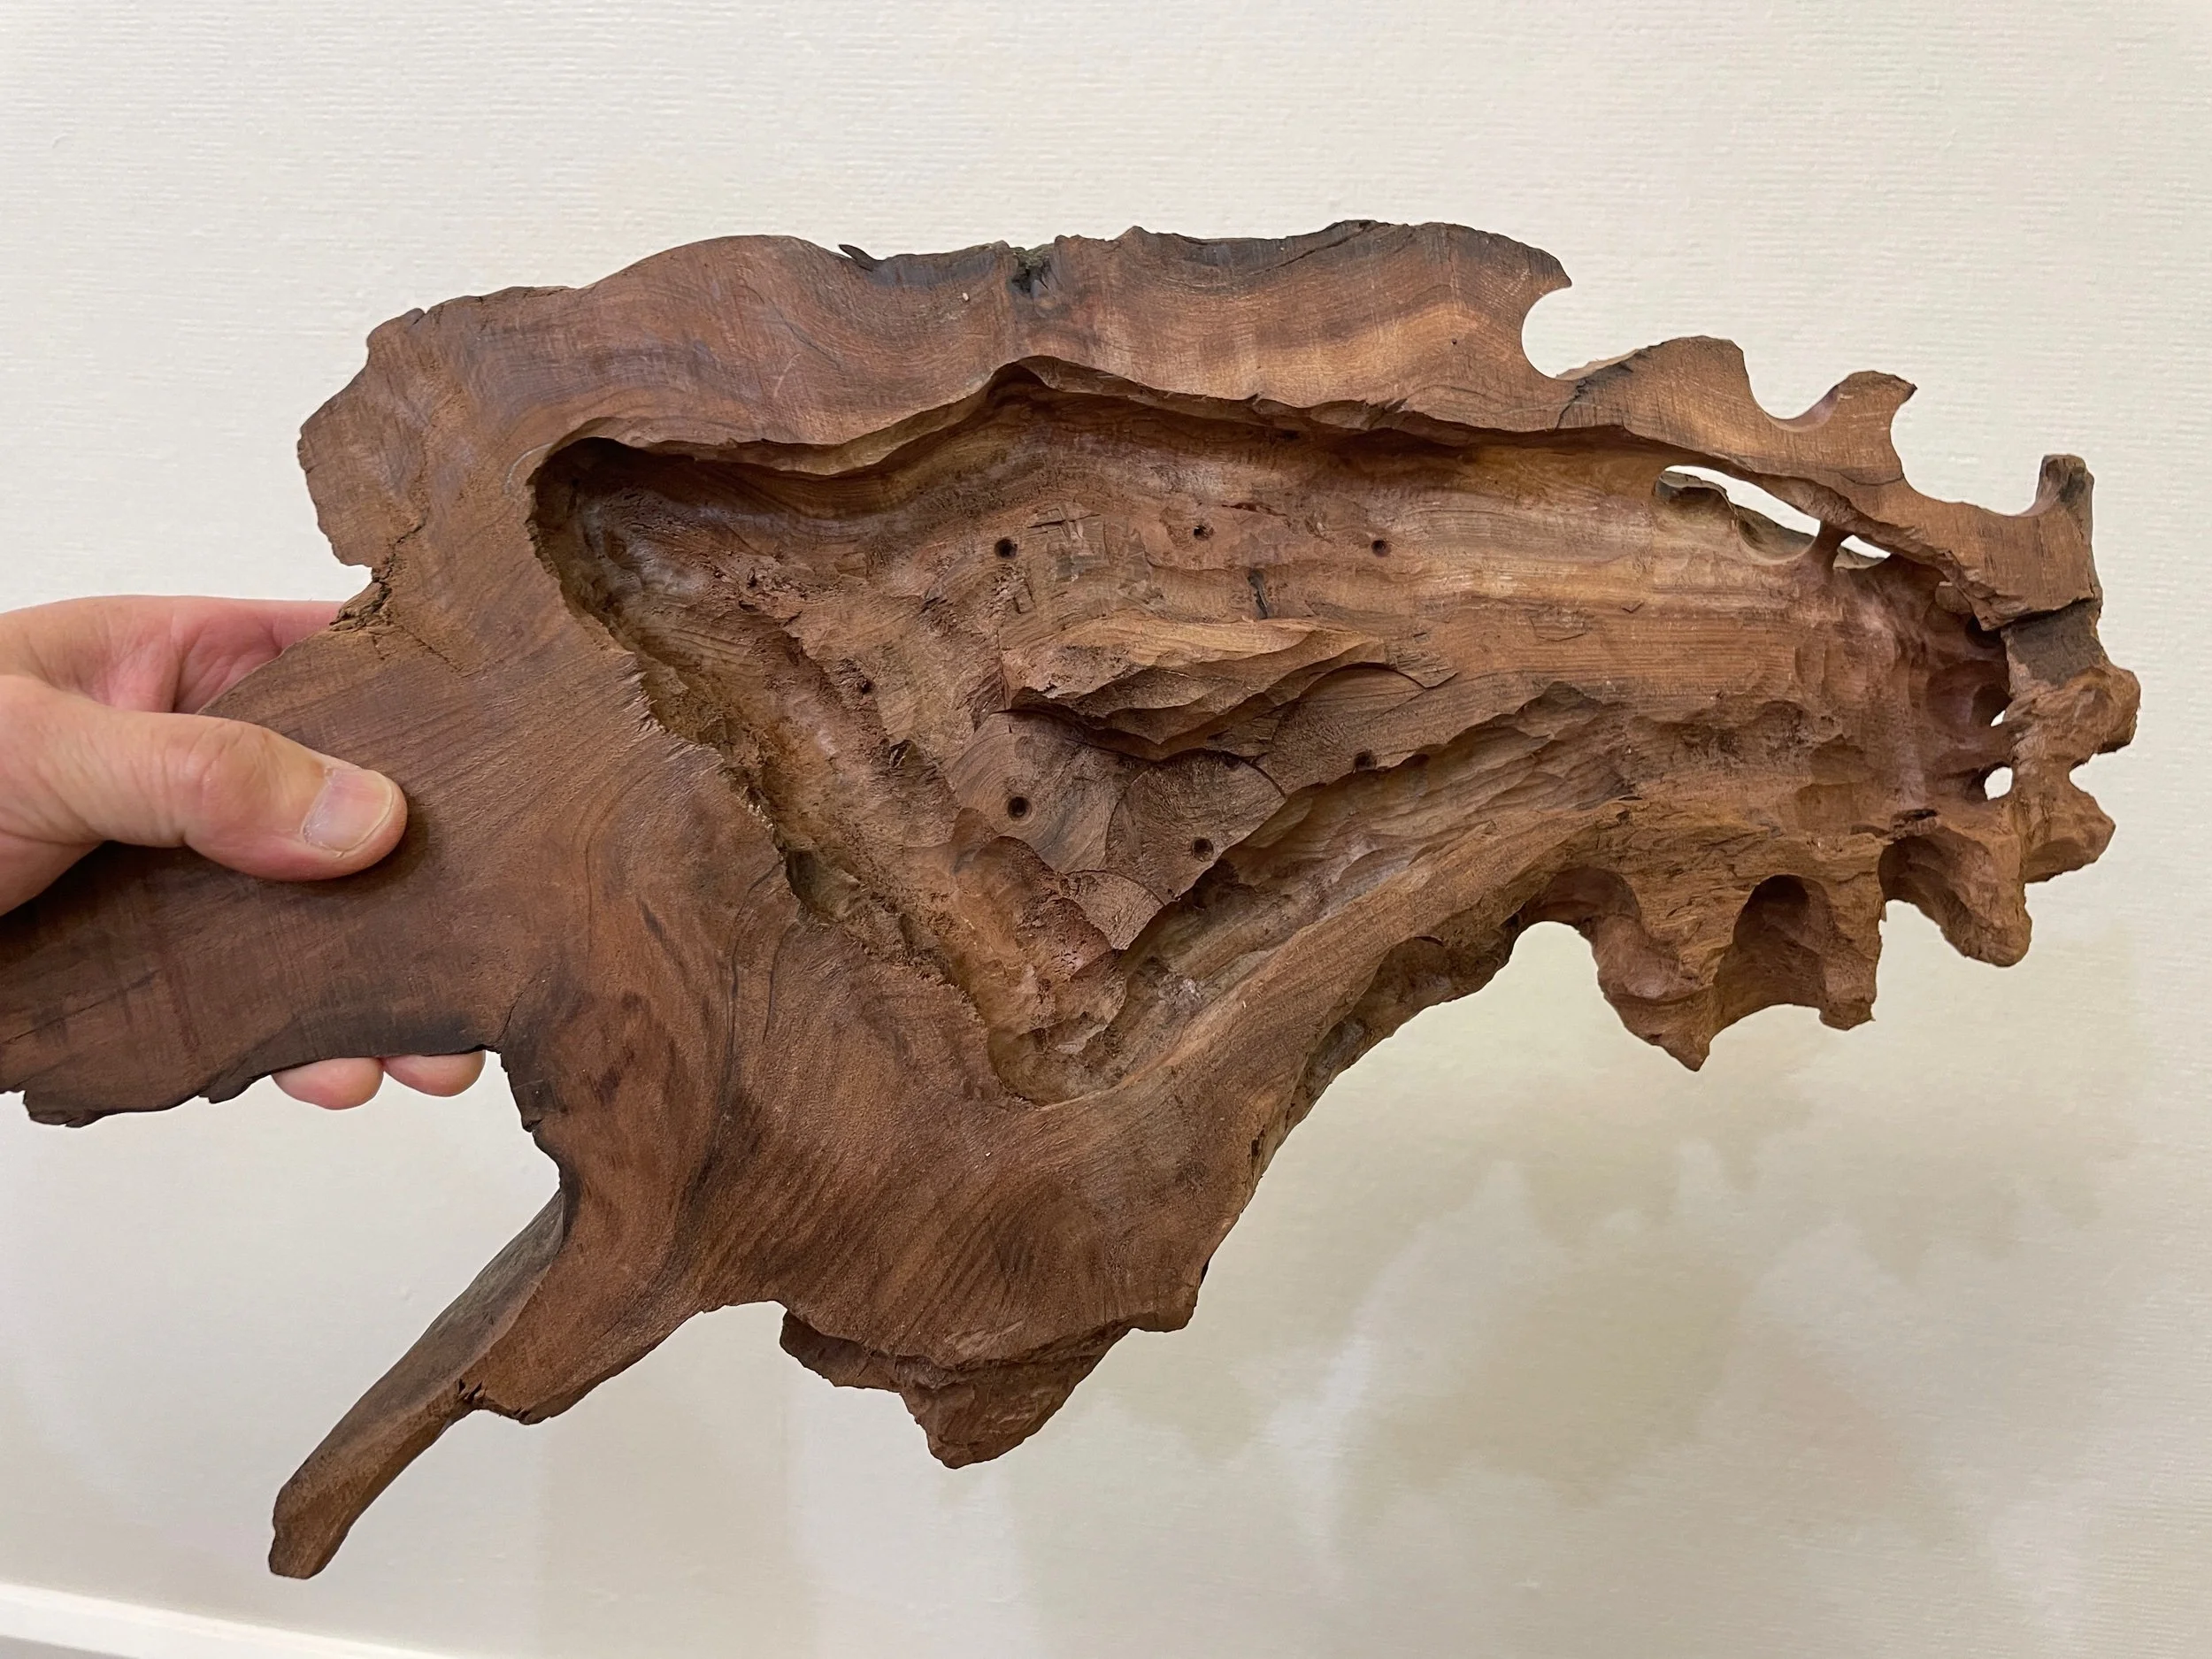
I usually start from the bottom to hollow the inside.
I use a hand-held drill with a variety of bits to start, and then an angle grinder with an Arbortech ball gouge cutter (fun tool!) and a variety of bits in the Dremel. I also use some carving knives.
I think it's always wise to use a dust mask when producing fine saw dust.
I usually finish with Watco Danish oil, because I like the look and would get confused if I used too many different products. I sometimes top coat that with spray lacquer.
Note: burned wood is harder than non burned—so it cuts differently and can strengthen the piece, if desired.
